Creating Contracts
Contracts are created from templates and linked to a customer. They can optionally be connected to an appointment.
Standalone contract creation
Section titled “Standalone contract creation”From the contracts list page, tap + to create a new contract:
- Select template — Choose from your templates (filtered by appointment kind if applicable)
- Select customer — Choose an existing customer or create a new one
- Due date (optional) — Set a fillout deadline with quick-pick buttons (+3, +7, +14 days)
From an appointment
Section titled “From an appointment”On the appointment detail page, scroll down to the Contracts section. Here you can see all contracts linked to this appointment and their current status.
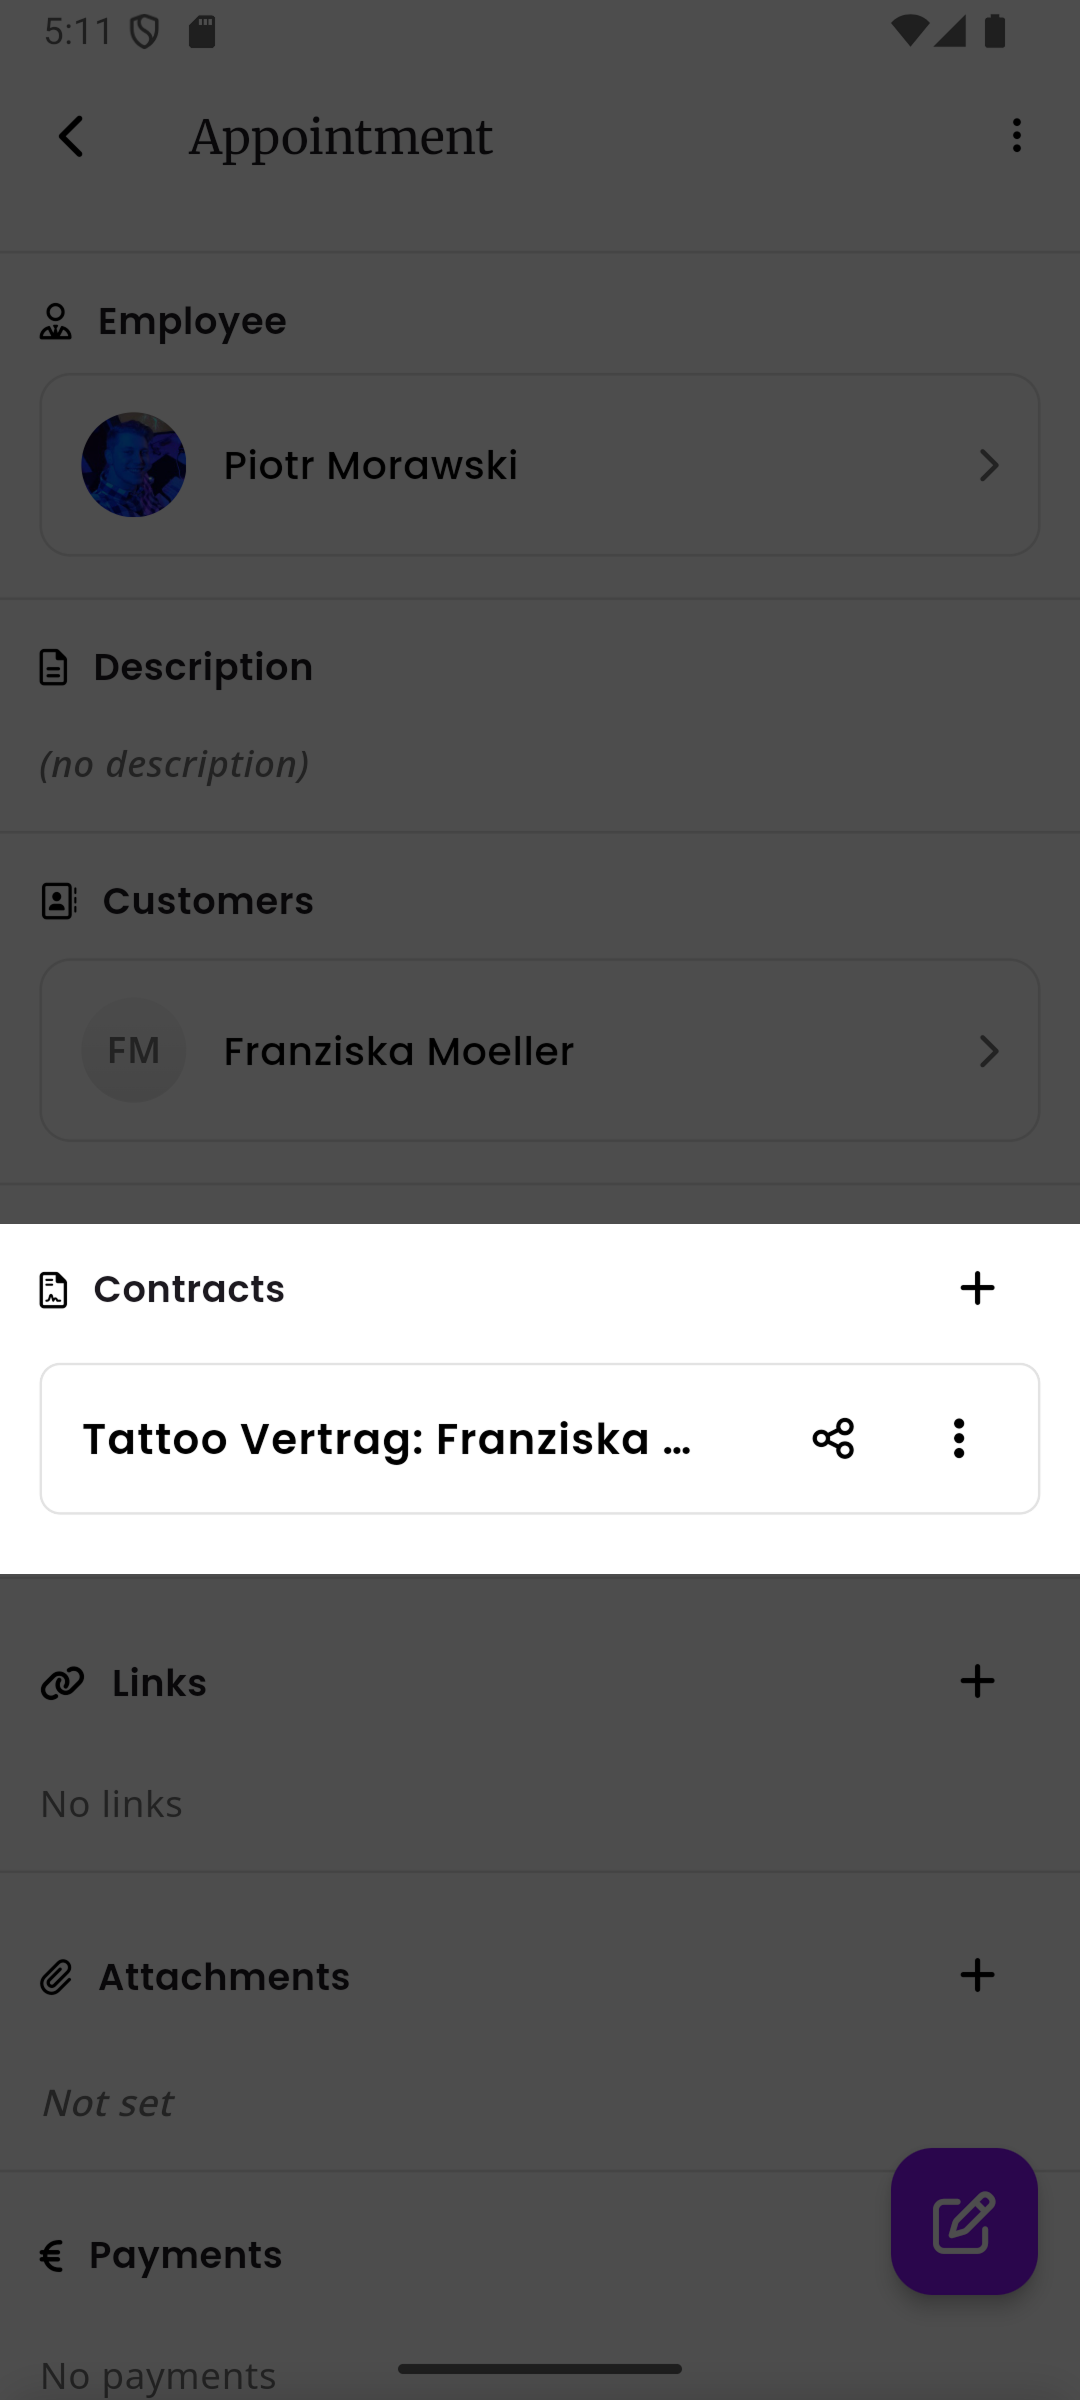
Tap the + button next to the Contracts heading to create a new contract. A sheet will slide up with the template and customer already pre-filled based on the appointment.
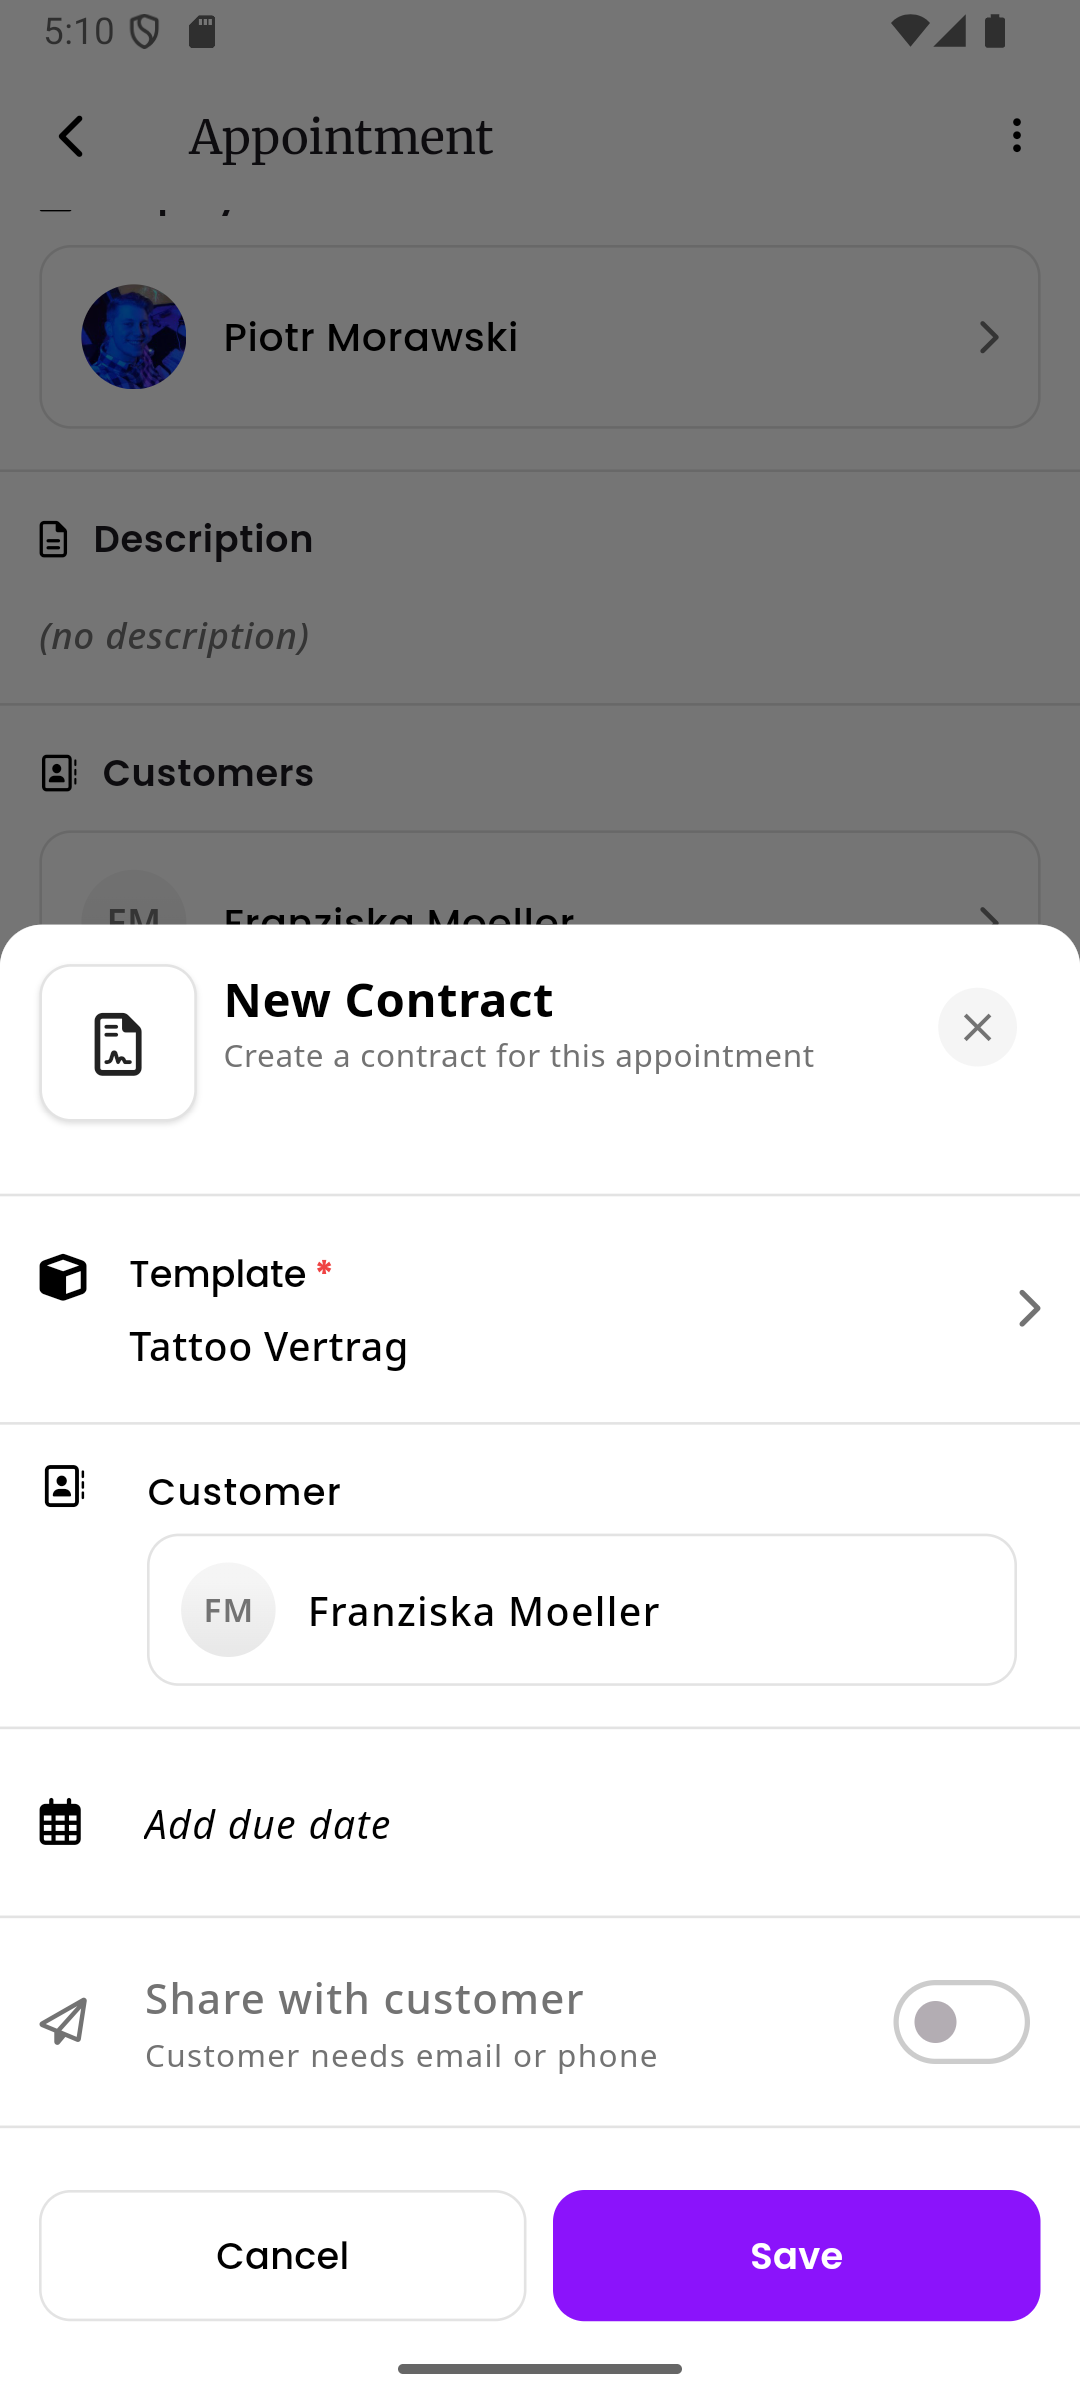
The appointment-specific creation flow includes:
- Auto-selection of templates based on appointment kind
- Auto-selection of customers linked to the appointment
- A Share with customer toggle to immediately share the contract after creation
- An optional due date with quick-pick buttons
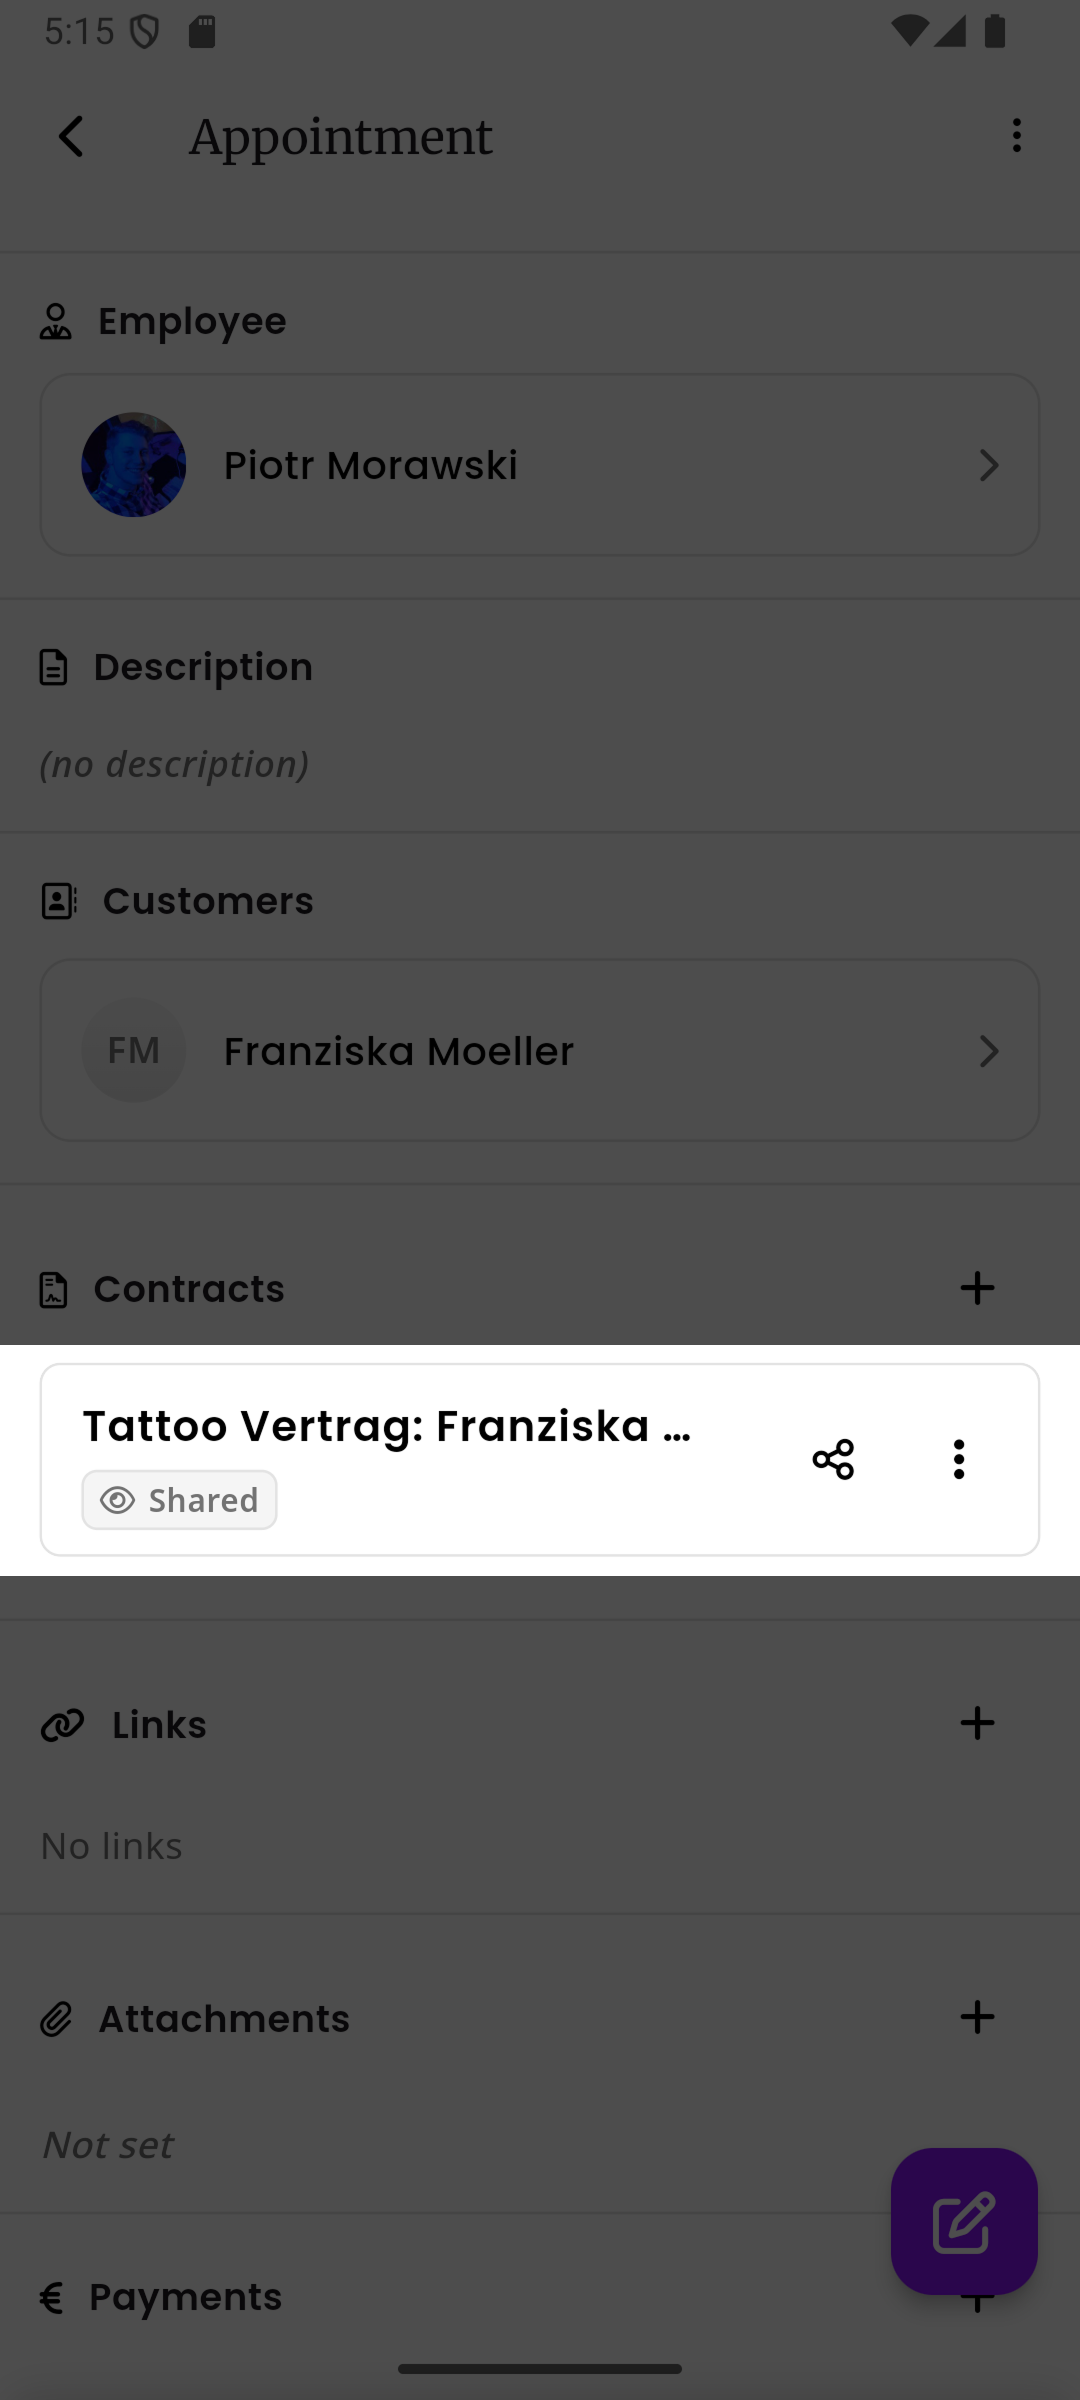
Once a contract has been shared, a Shared badge appears on the contract card in the Contracts section.
Contract options
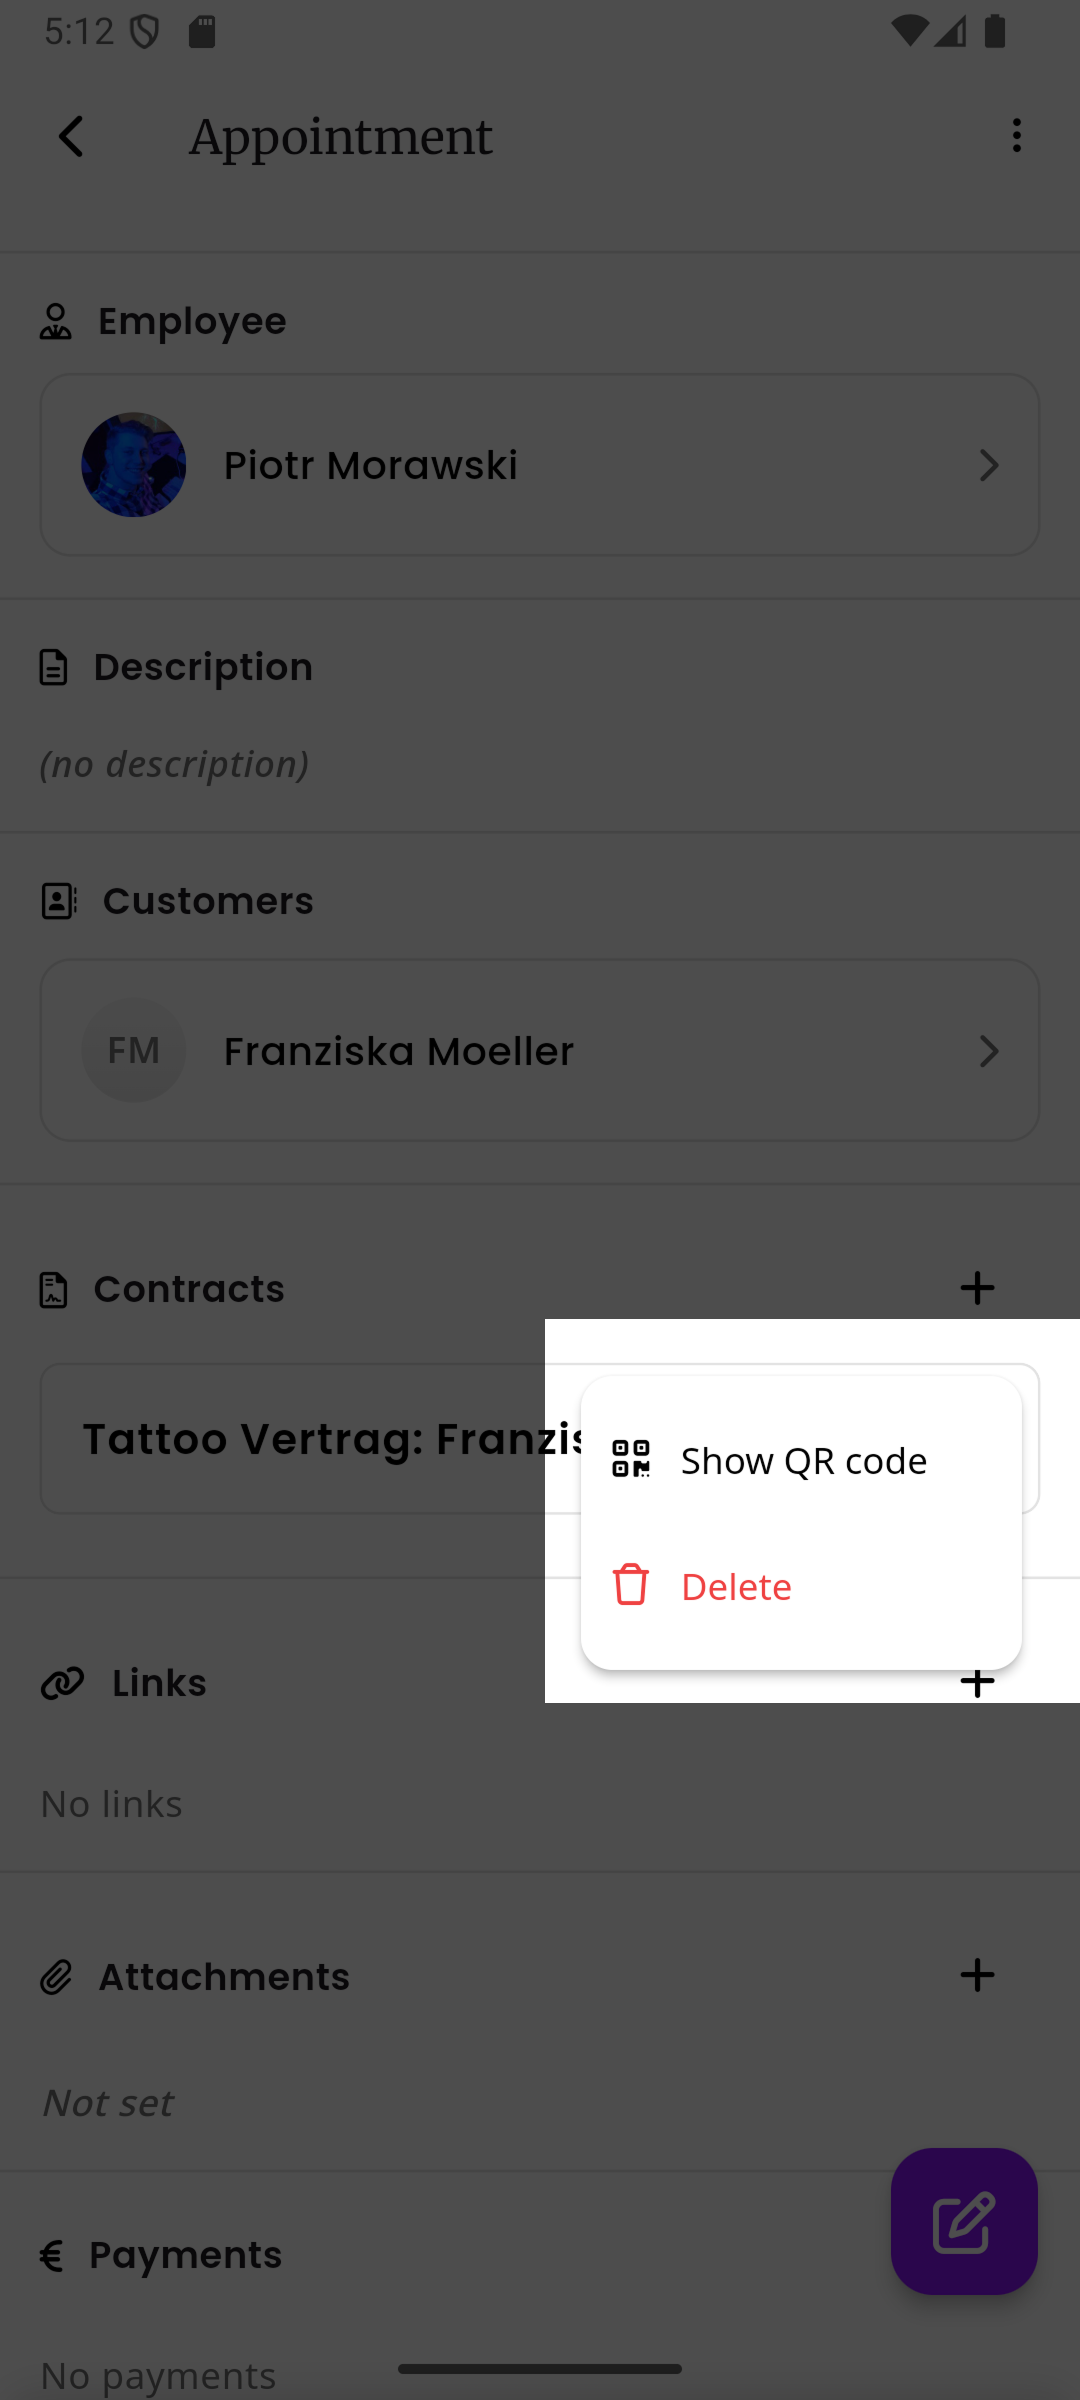
Section titled “Contract options”Tap the three-dot menu on a contract card to see additional options:
- Show QR code - Opens a QR code page that the customer can scan to open the contract
- Delete - Removes the contract from this appointment
What happens on creation
Section titled “What happens on creation”When a contract is created:
- The template’s blocks are copied to the contract
- Bank details are resolved from the configured source (employee, company, or template)
- An auto-generated sequence number is assigned
- The contract starts in draft status