Creating Templates
Contract templates are the blueprints for your contracts. You can create different templates for different services you offer. For example, you might have one template for tattoo appointments and another for piercing appointments.
You can link a template to a specific appointment kind. When you later create a contract for an appointment, inkStar will automatically pick the right template based on the appointment kind that was selected.
Accessing templates
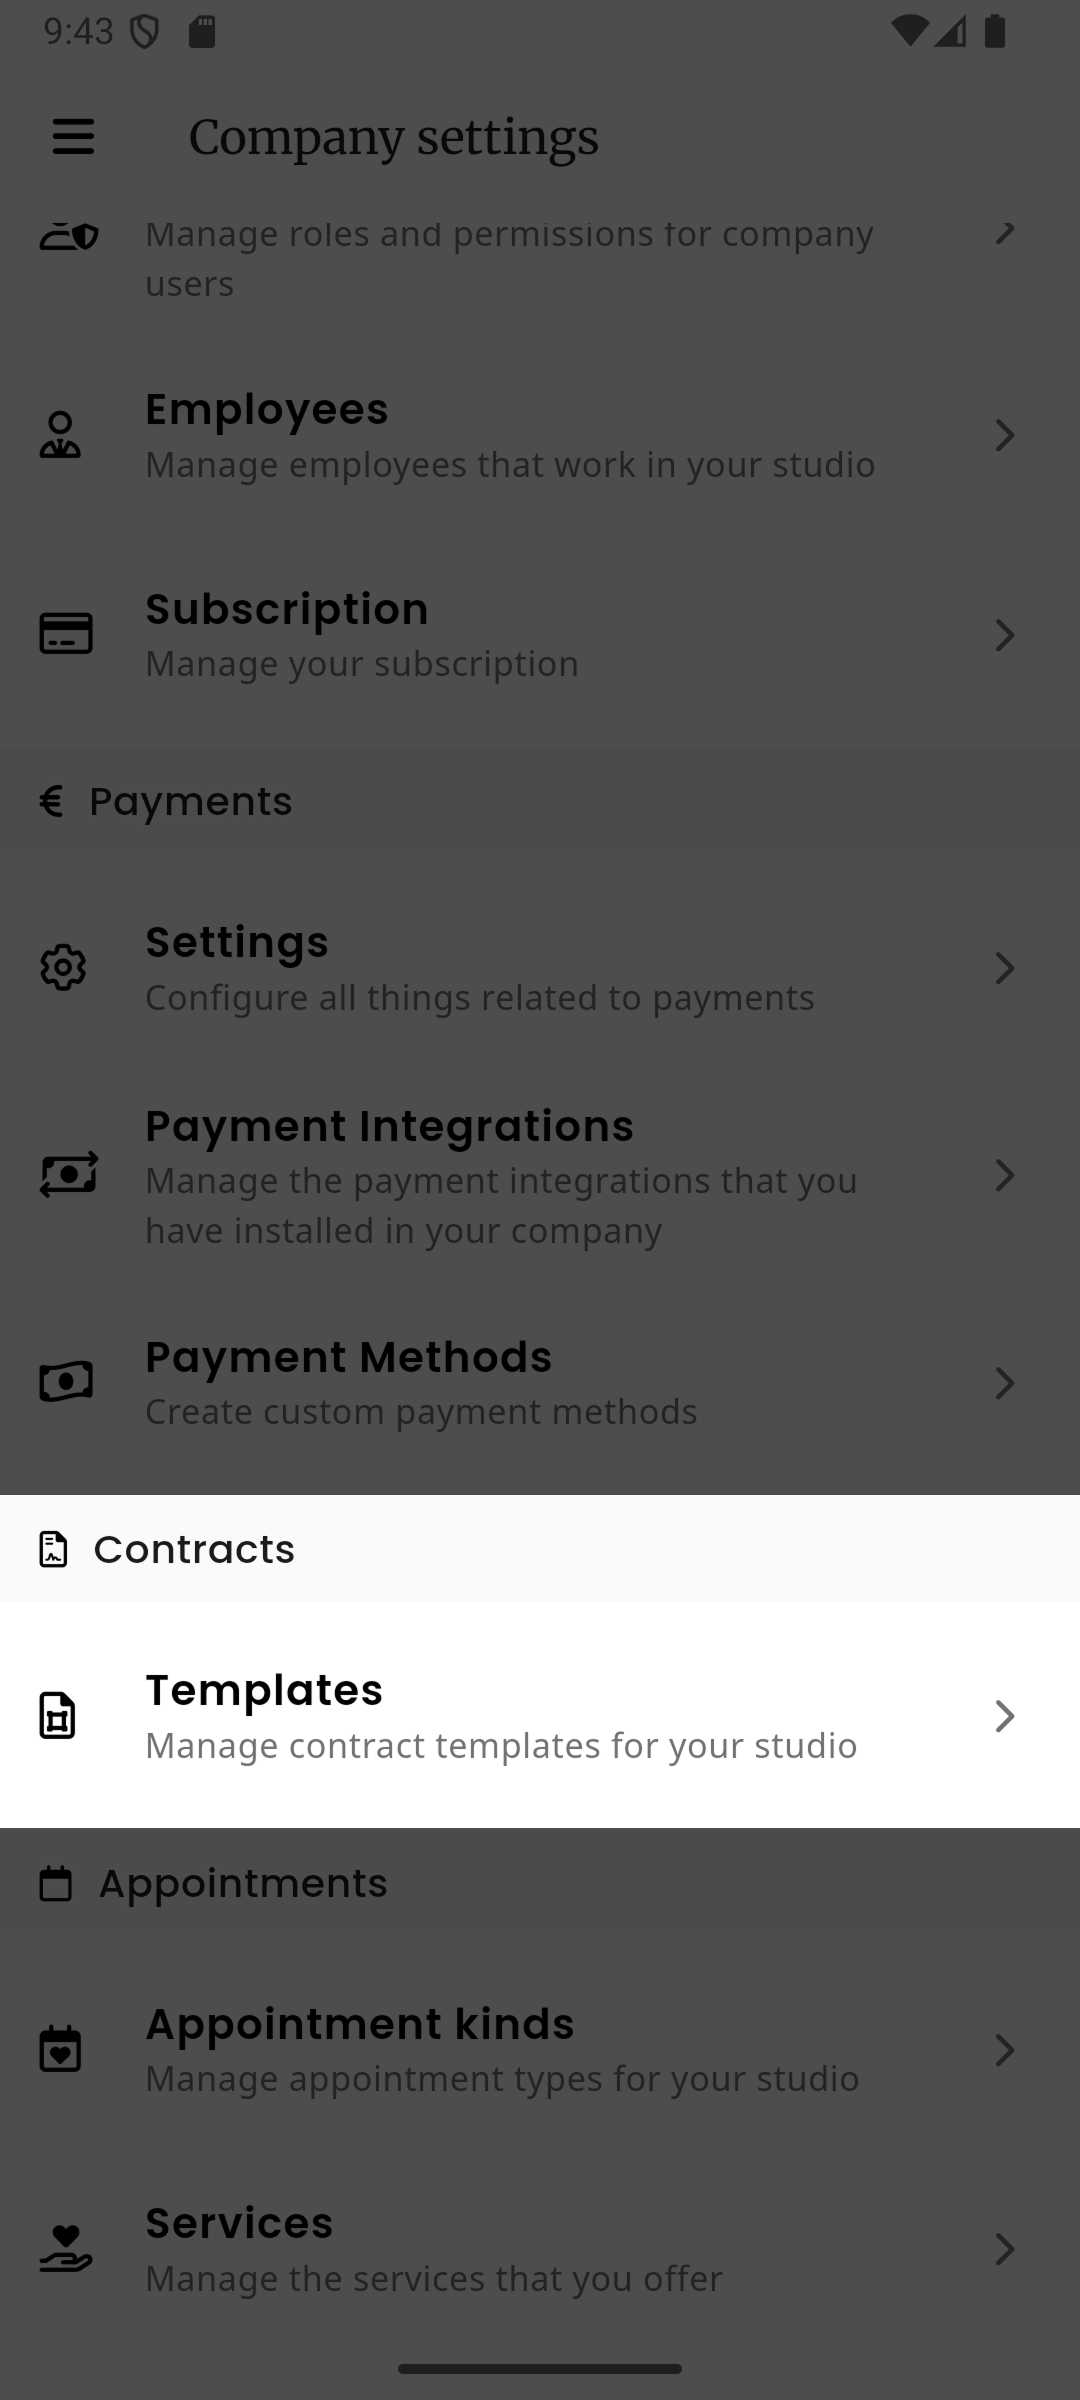
Section titled “Accessing templates”Navigate to Settings in the sidebar, then select Templates under the Contracts section.
Searching and filtering templates
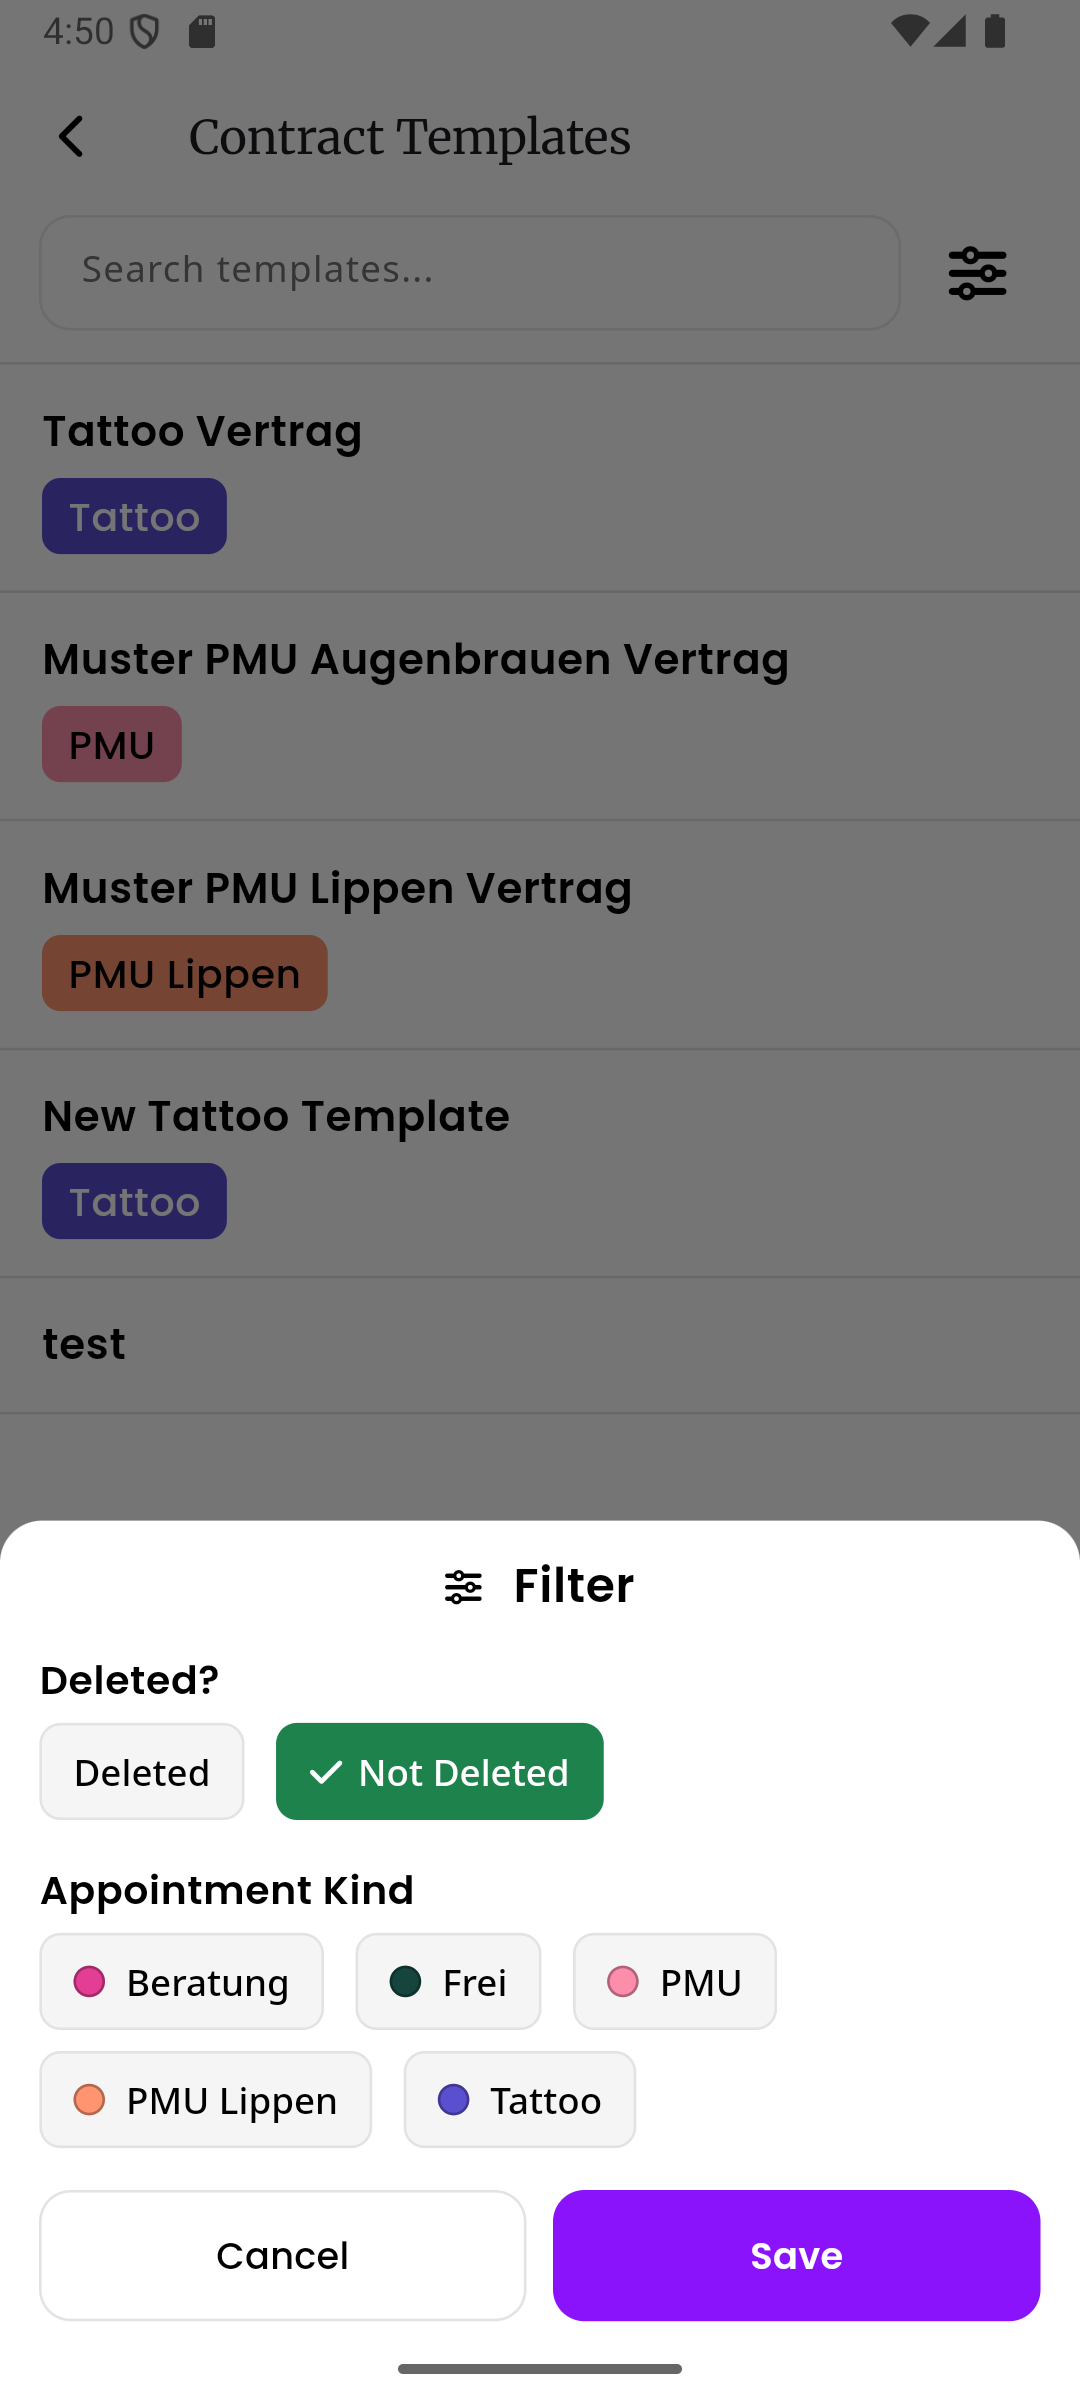
Section titled “Searching and filtering templates”The template list has a search bar at the top to quickly find templates by name. Next to it, tap the filter icon to open a filter panel where you can narrow down the list by:
- Deleted status - show only active templates or only deleted ones
- Appointment kind - show only templates linked to a specific appointment kind
Creating a new template
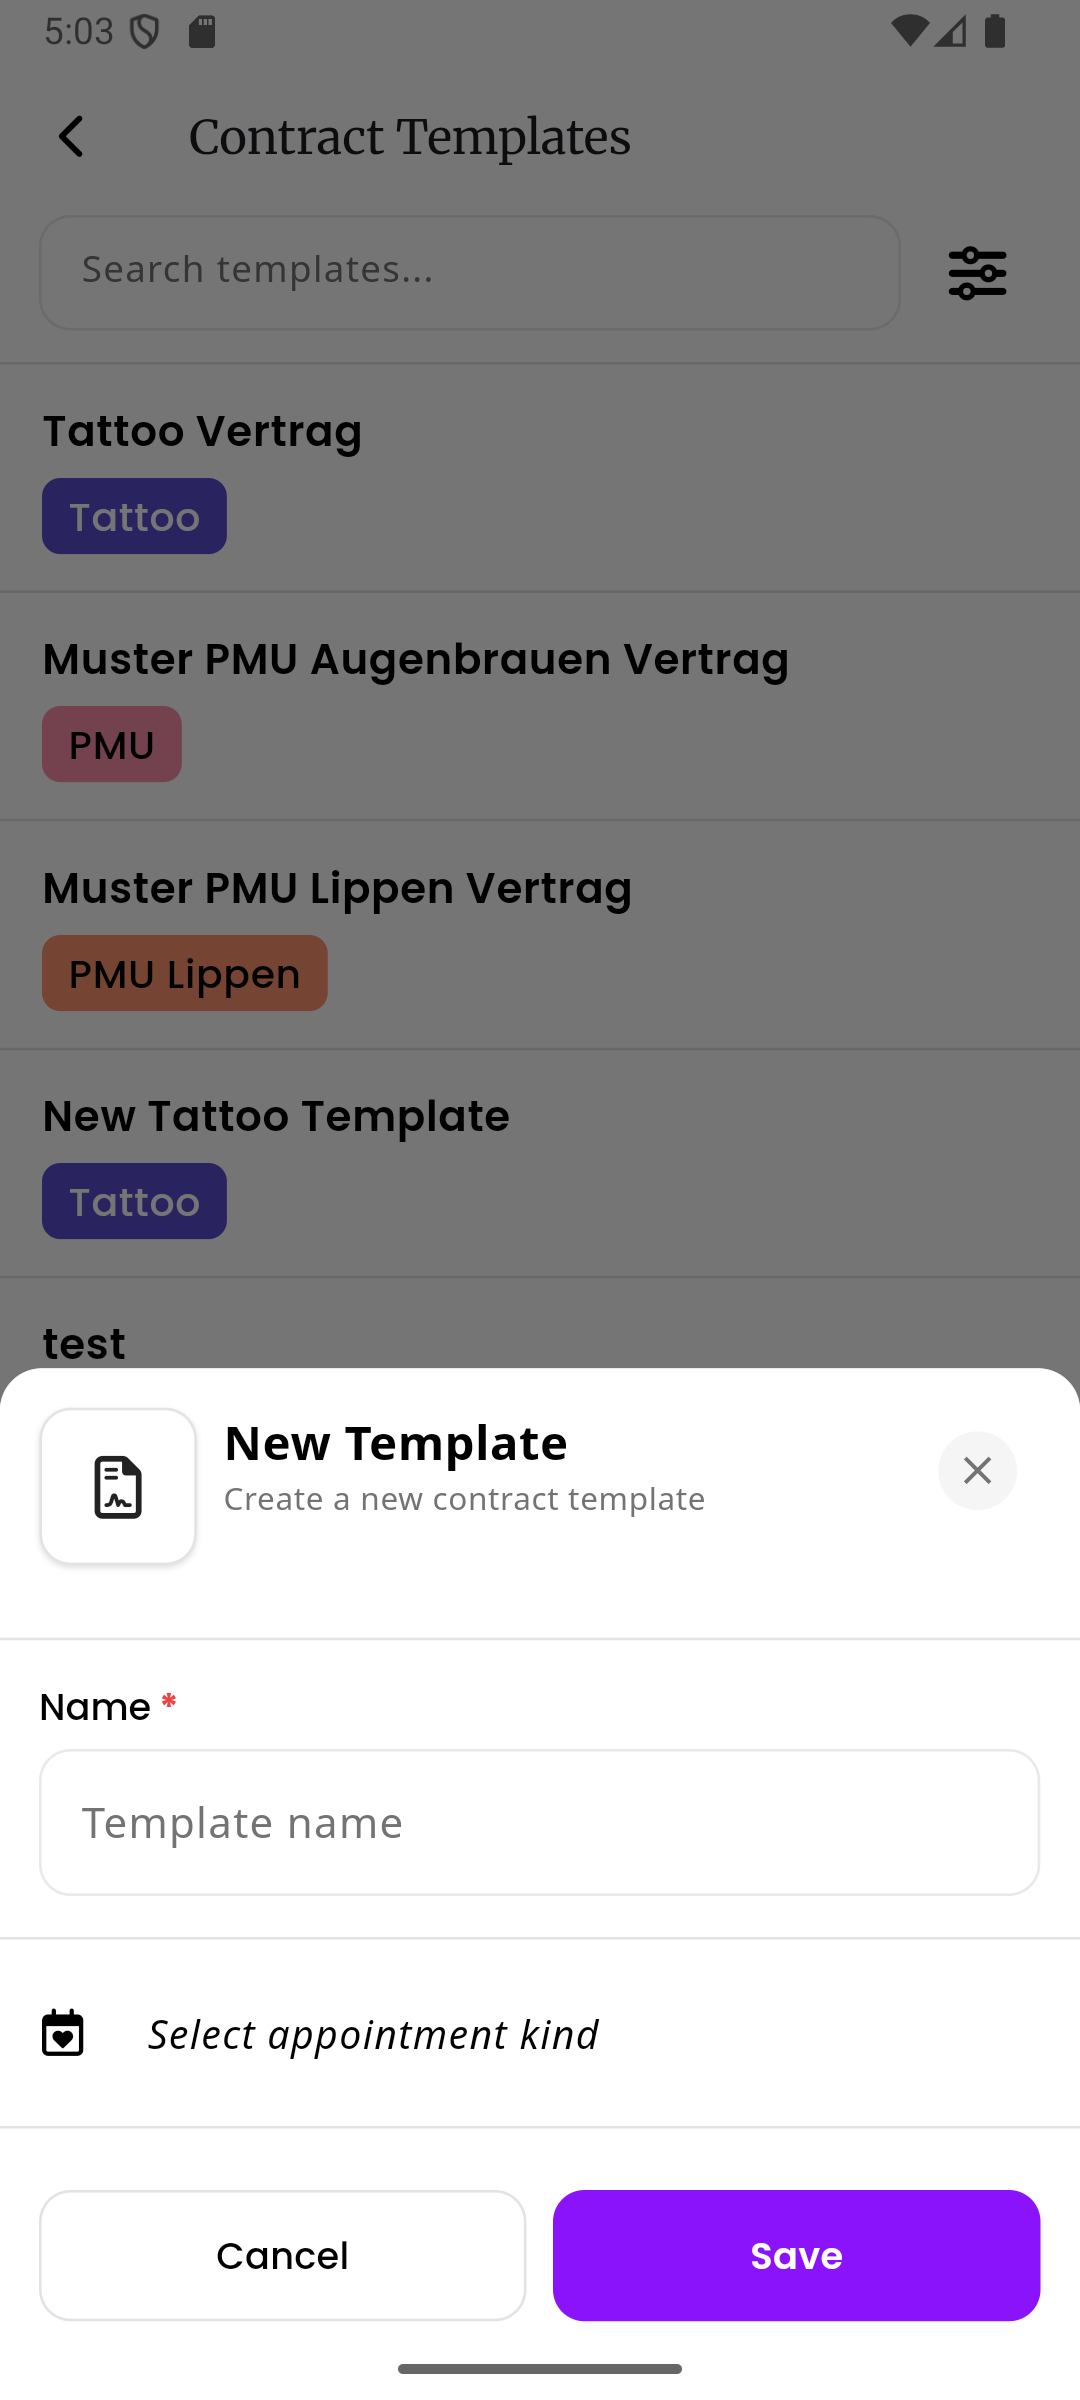
Section titled “Creating a new template”Tap the + button (the purple floating action button in the bottom-right corner) to create a new template. A sheet will slide up where you enter the template name and optionally select an appointment kind to link it to.
Template detail view
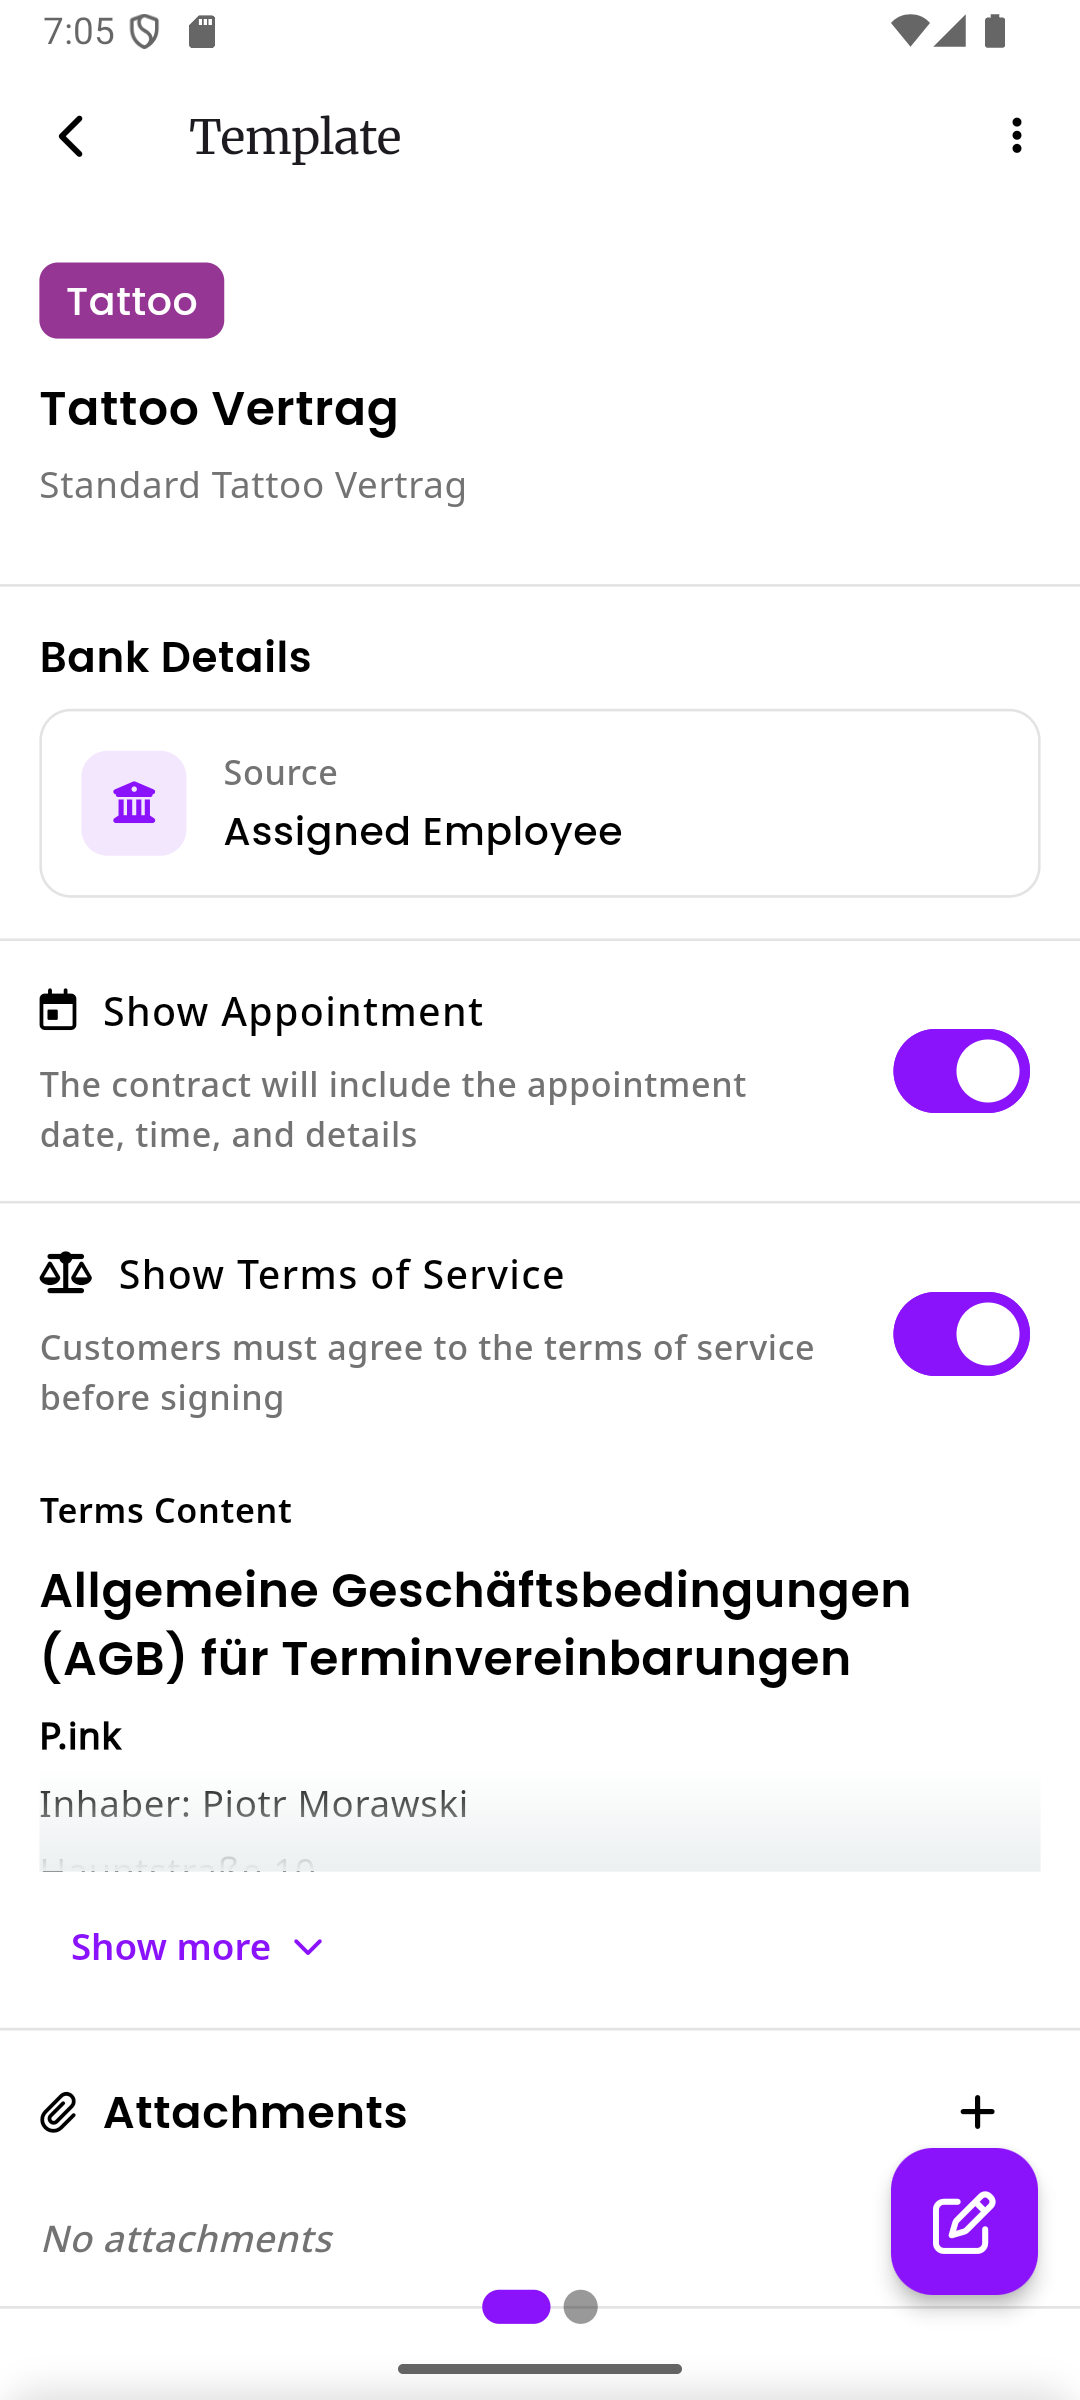
Section titled “Template detail view”Before editing, the template detail view shows you a summary of your template across two pages that you can swipe between:
- Details page shows the template name, description, appointment kind badge, bank details source, show appointment toggle, show terms of service toggle, the terms of service text, and any attachments
- Preview page shows a live preview of how the contract will look for your customer
To start editing, tap the pencil button (the purple floating action button in the bottom-right corner).
Template editor
Section titled “Template editor”When you tap the edit button, the template editor opens. It has three pages that you can swipe between. At the bottom of the screen, you will see three small dots. The purple dot tells you which page you are currently on.
Page 1: Master data
Section titled “Page 1: Master data”The first page is where you configure the general settings for your template.
Here is what each setting does:
- Name - The name of your template (for example “Tattoo Contract” or “Piercing Consent Form”). This name is also used as the prefix for contracts created from it. For example, a template named “Tattoo Contract” will produce contracts like “Tattoo Contract: John Doe”
- Description - An optional note for your own reference. Customers will not see this
- Appointment kind - Links this template to a specific appointment kind. When you create a contract from an appointment, the template that matches the appointment kind will be automatically selected
- Show appointment - When turned on, the contract will display details about the linked appointment to the customer, such as the appointment name, date, time, price, and assigned employee
- Bank details - Choose where the bank information on the contract should come from. This is useful when you need customers to make a down payment via bank transfer. See Bank Details for a full explanation
- Terms of Service - Turn this on to include your terms of service on the contract. When enabled, a rich text editor appears where you can write or paste your terms
To save your changes on any page, tap the Save button at the top right of the screen.
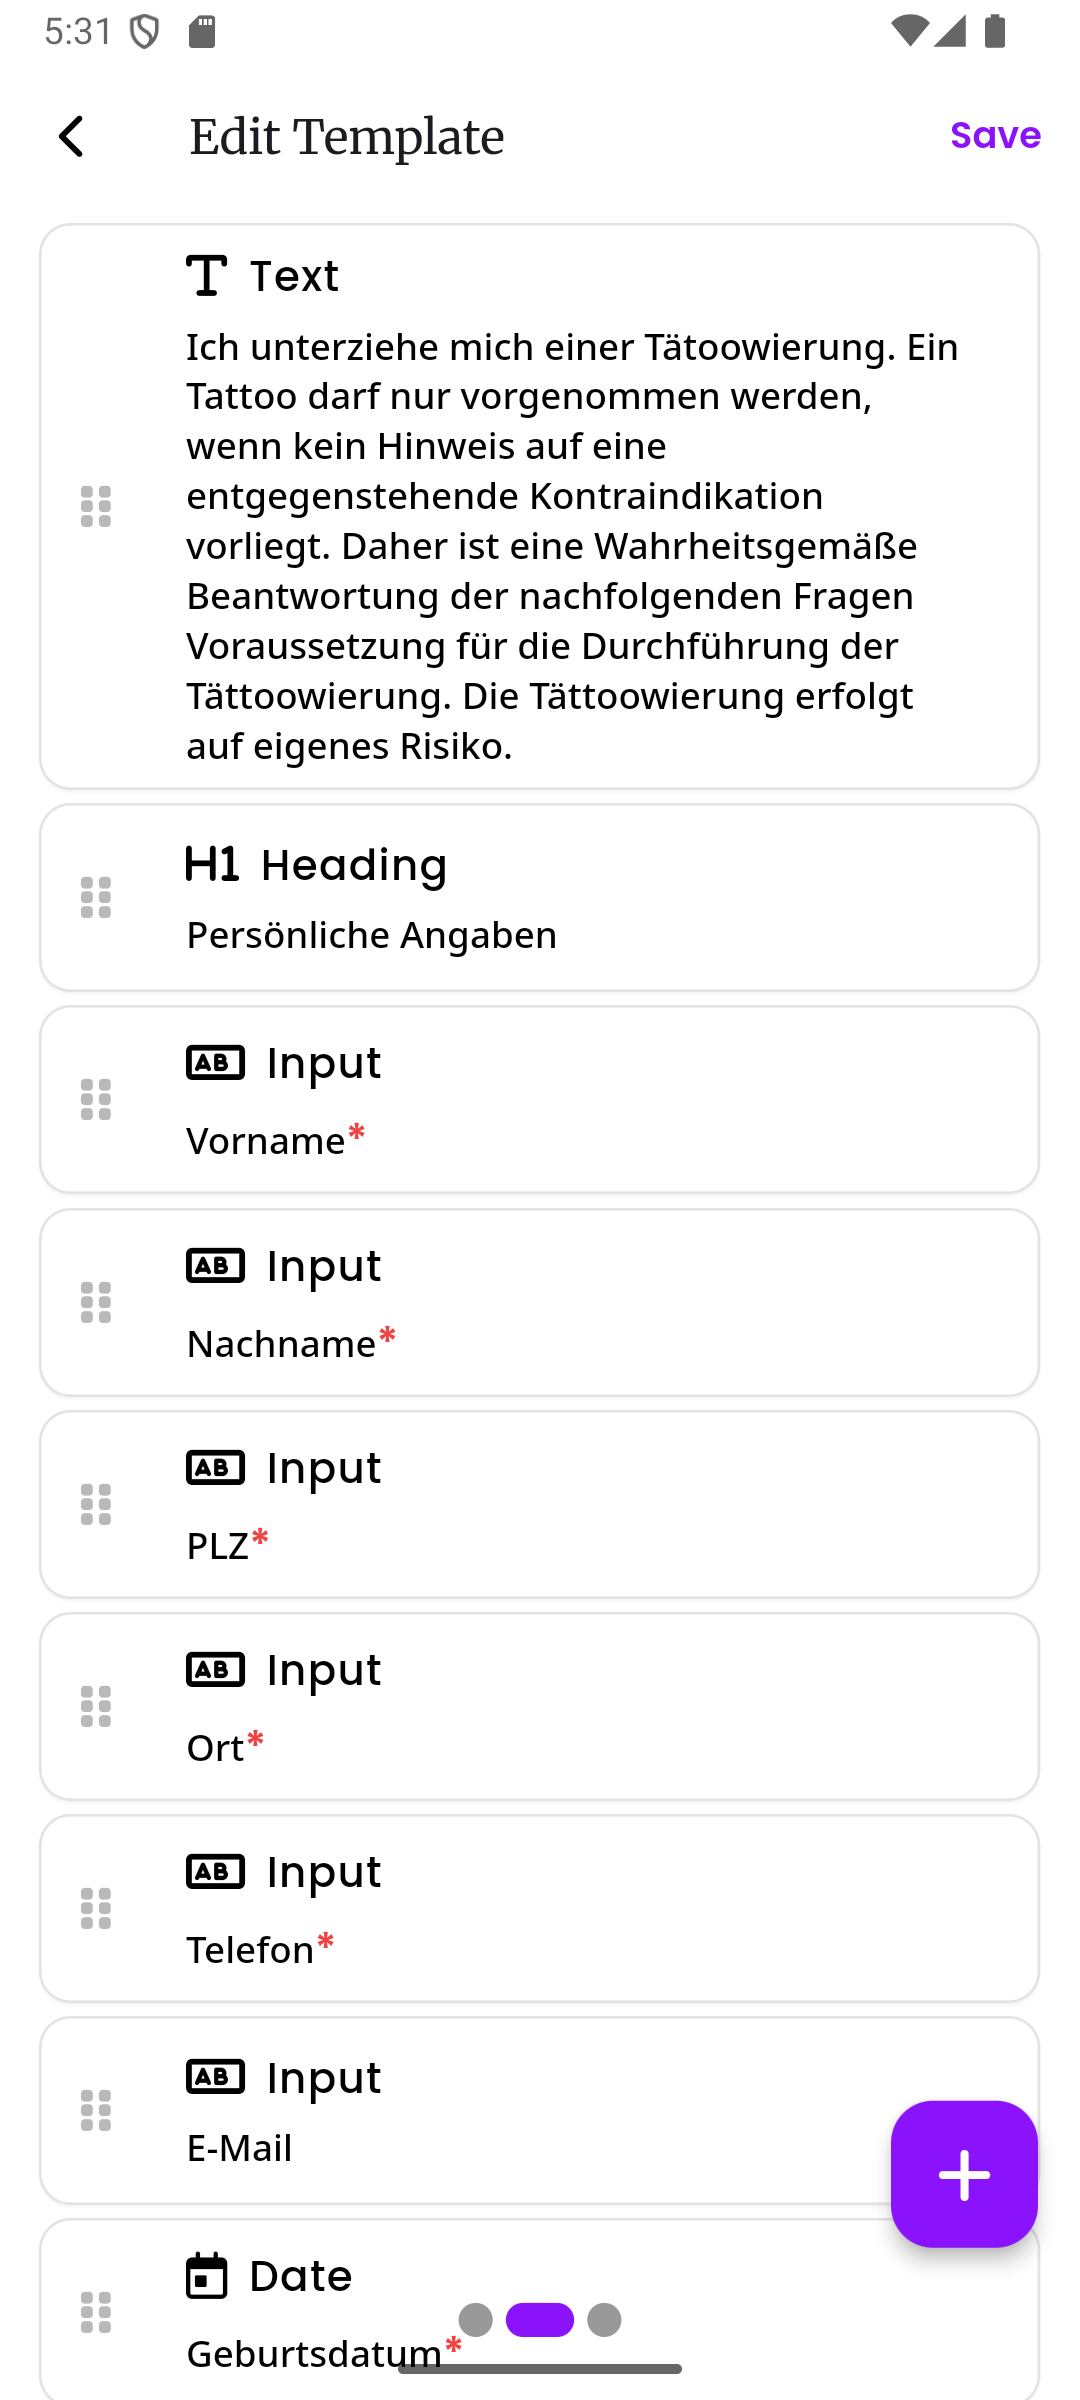
Page 2: Block editor
Section titled “Page 2: Block editor”The second page is the block editor. This is where you build the actual content of your contract. Blocks are the building pieces that make up your contract: headings, text paragraphs, input fields for the customer to fill in, and more.
See Block Types for a detailed guide on every block type and what each of its settings does.
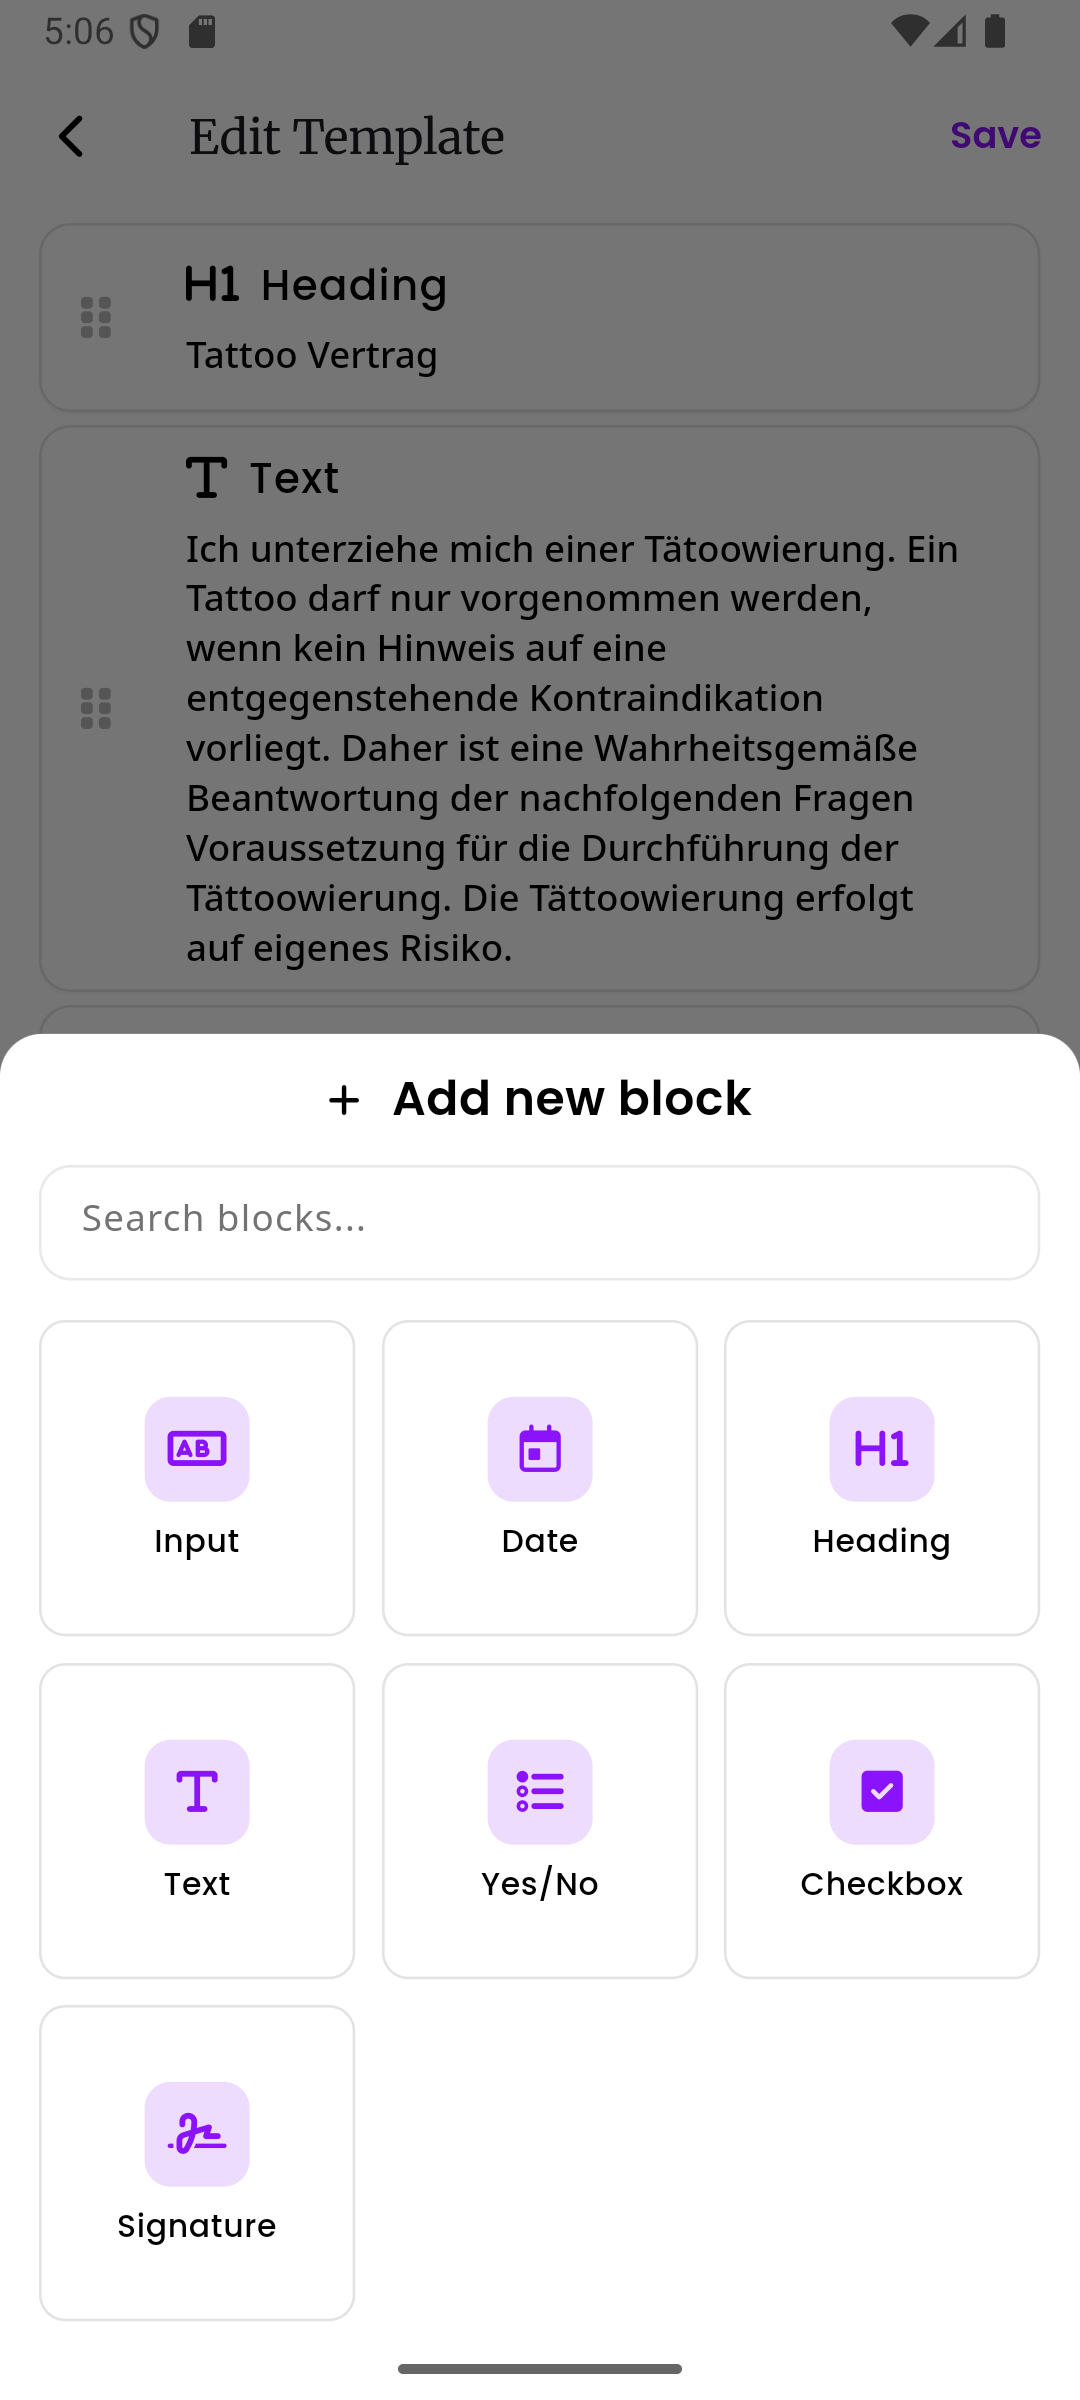
Adding a new block
Section titled “Adding a new block”Tap the + button (the purple floating action button in the bottom-right corner) to add a new block. A sheet will slide up showing all available block types. You can also use the search bar at the top to quickly find a specific block type.
Where the new block is inserted depends on whether you have a block selected:
- If you have a block selected, the new block is inserted directly below the selected block
- If no block is selected, the new block is added at the end of the list
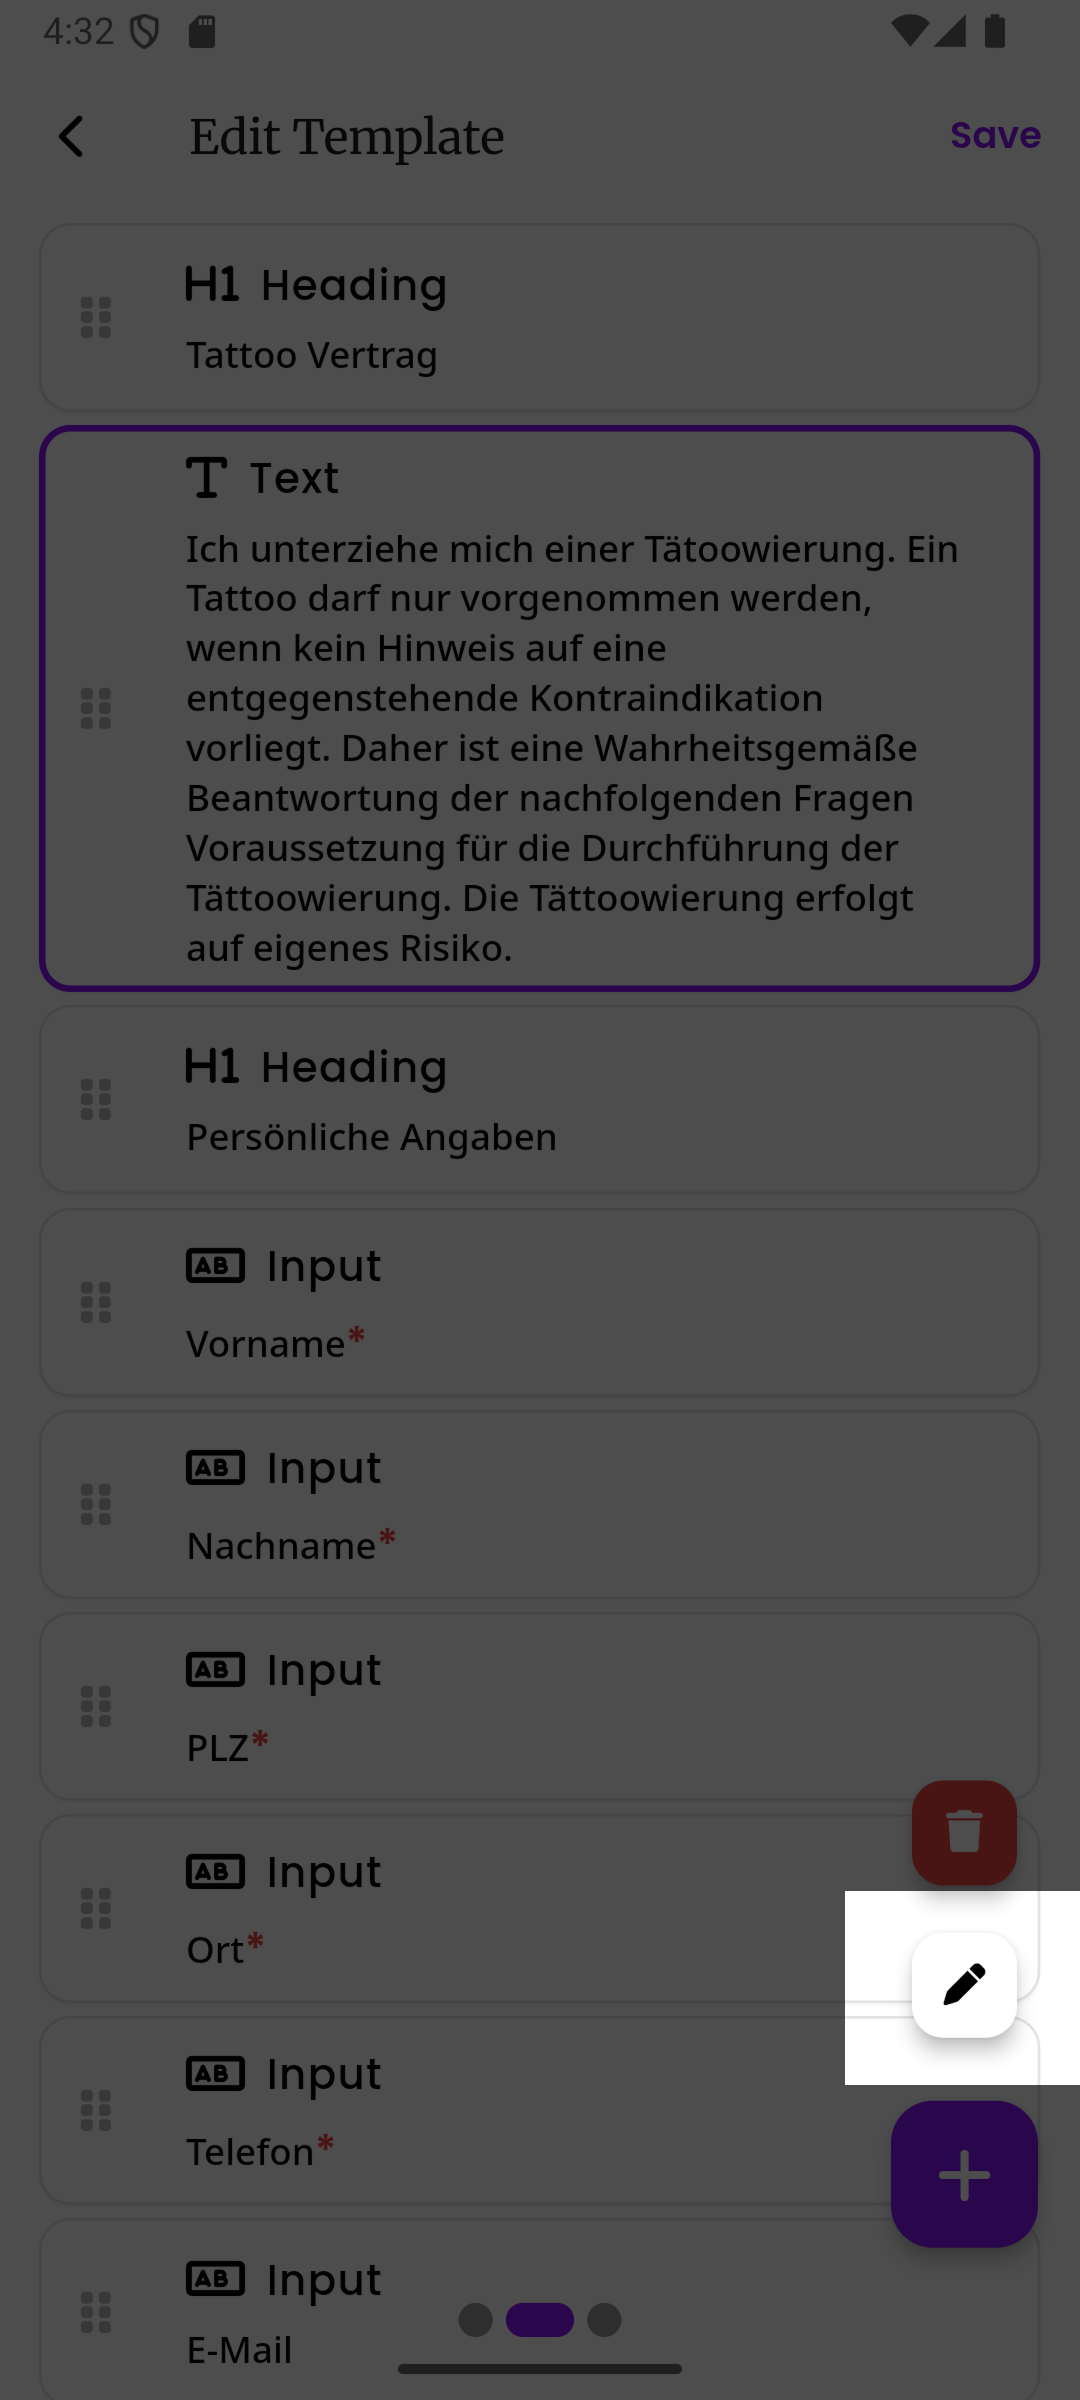
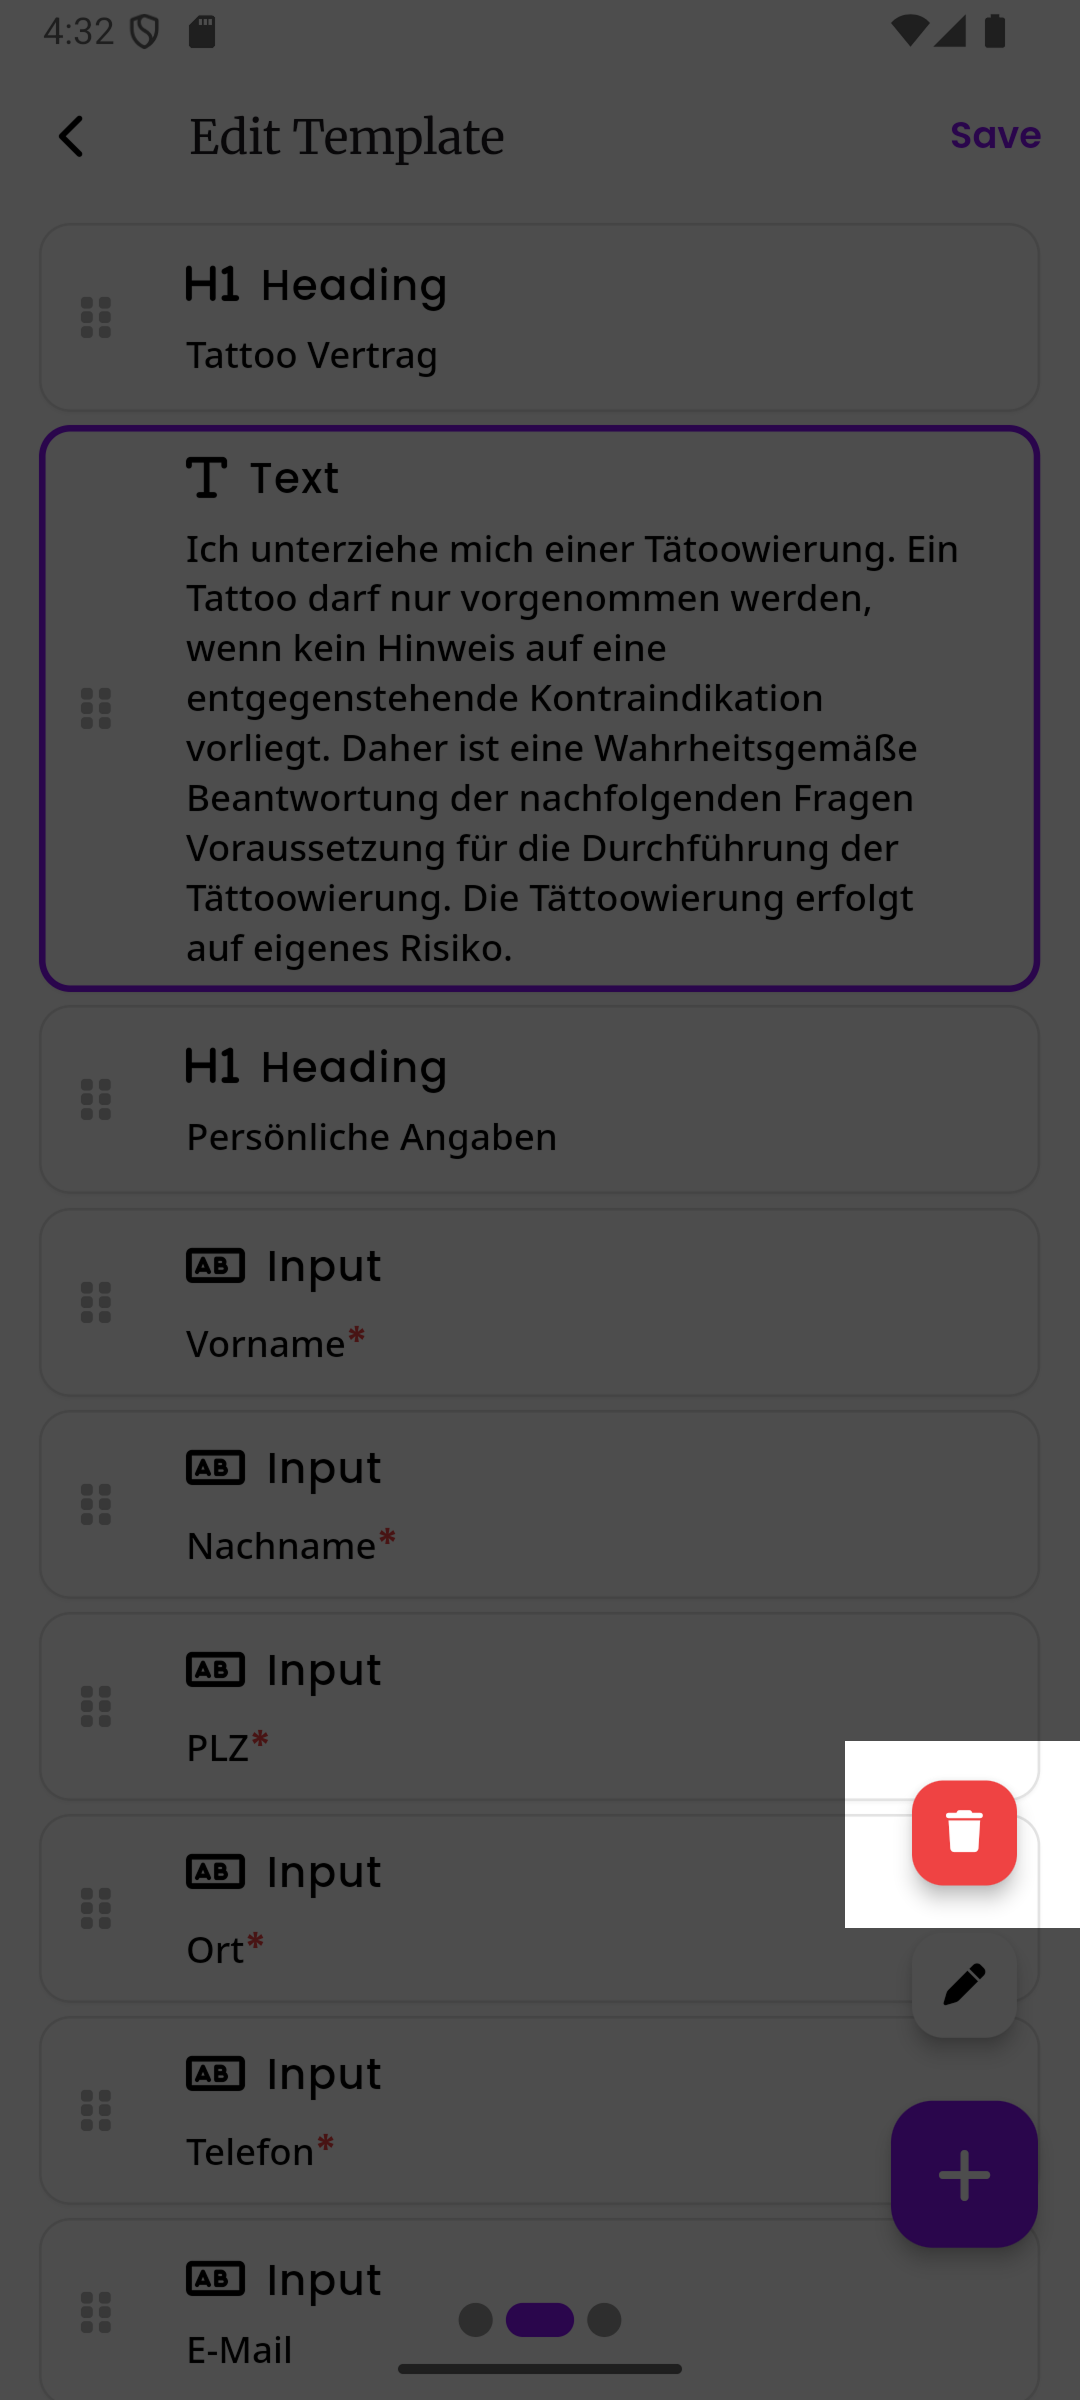
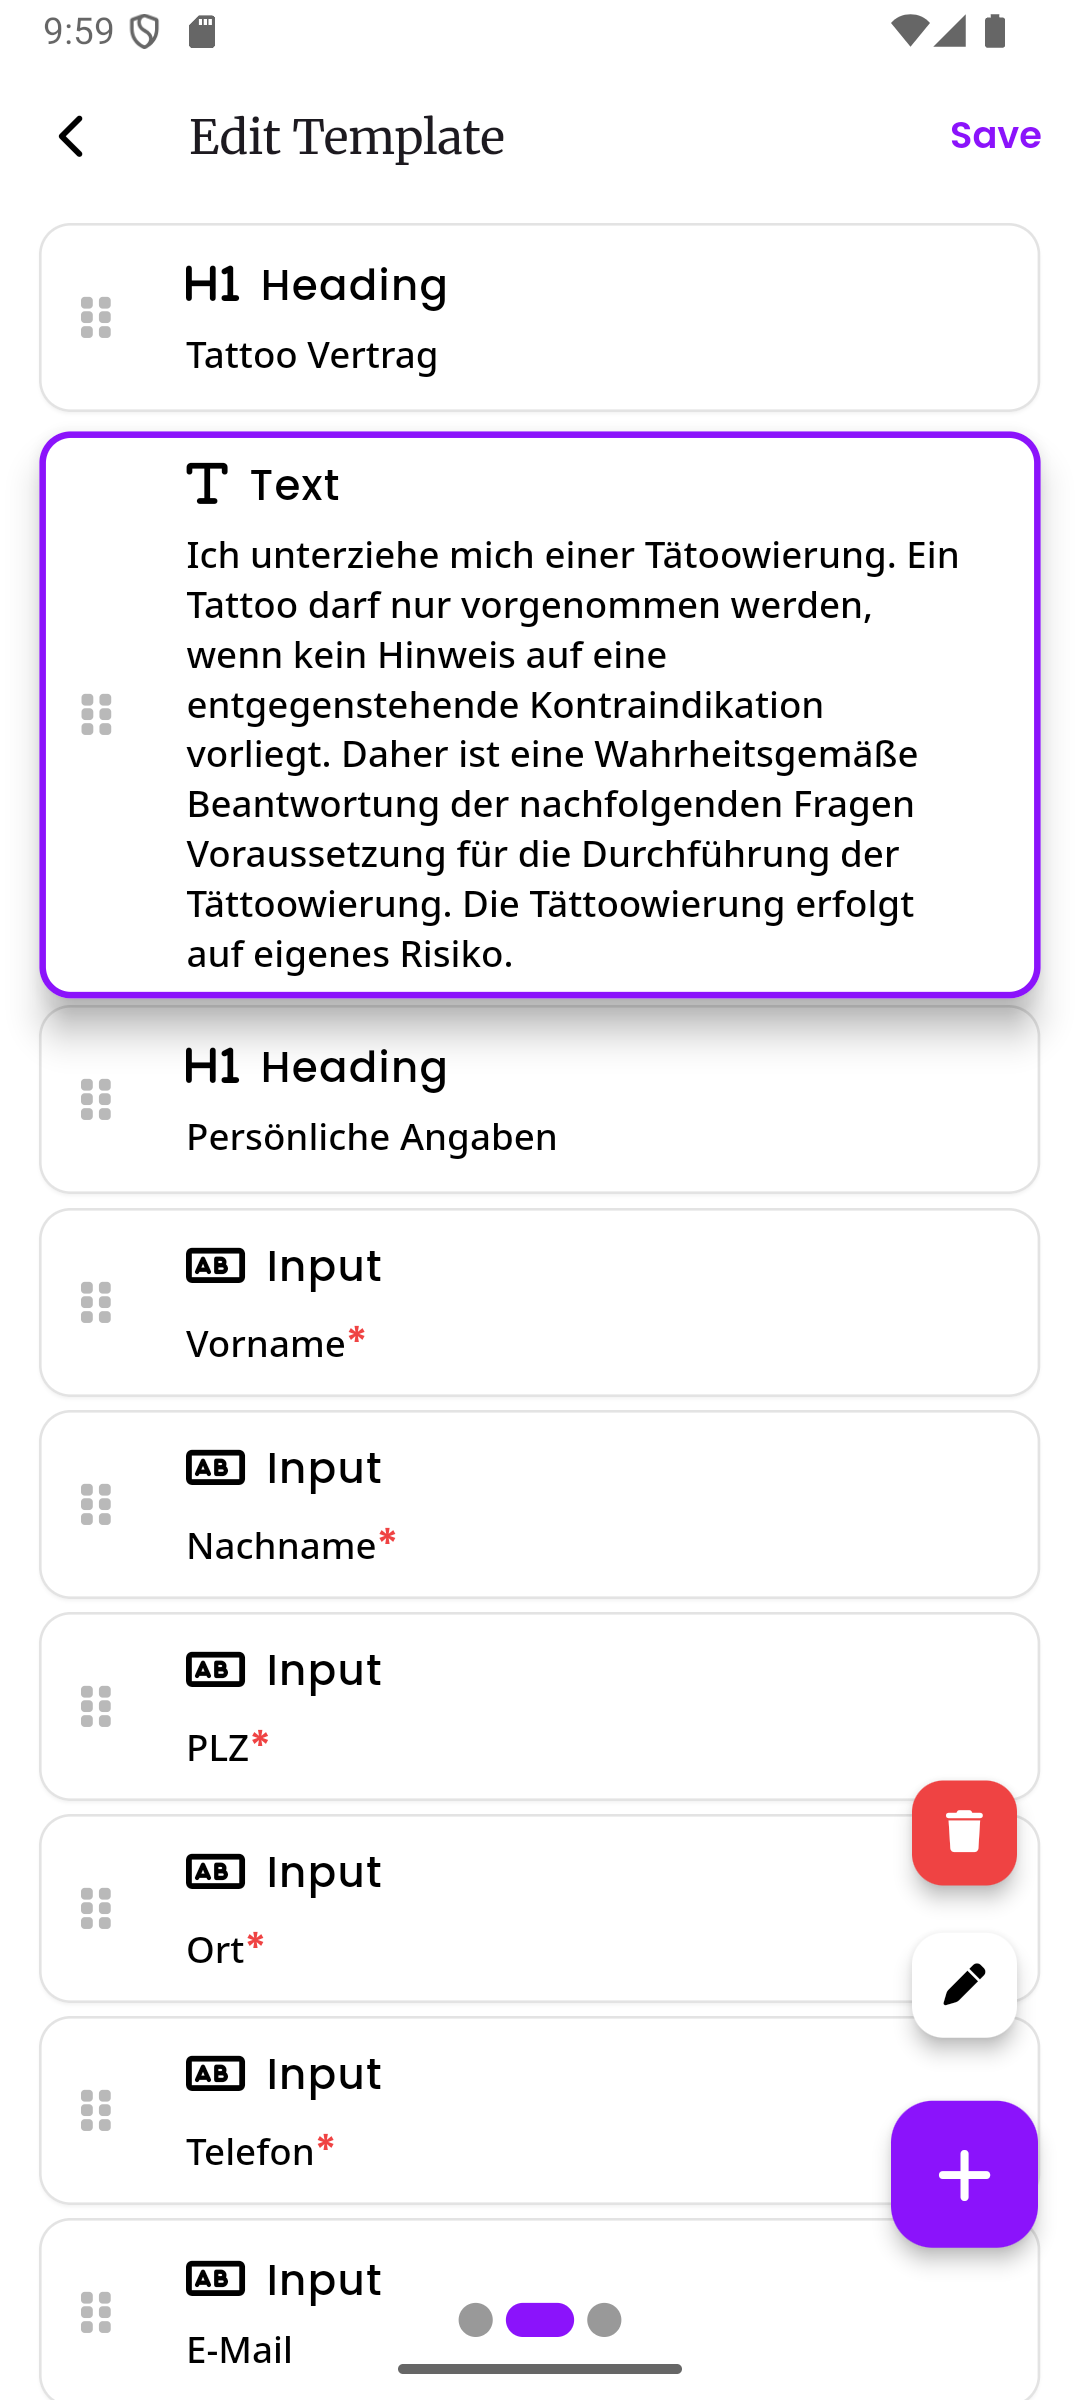
Selecting a block
Section titled “Selecting a block”Tap on any block in the list to select it. The selected block will be highlighted with a purple outline. Once a block is selected, two small buttons appear above the floating action button:
- Pencil button - Opens the block’s settings so you can edit it
- Trash button - Deletes the selected block
Editing a block
Section titled “Editing a block”After selecting a block, tap the pencil button to open its property sheet. This is a panel that slides up from the bottom of the screen and shows you all the settings for that specific block. Each block type has different settings. For example, a heading block lets you change the text, size, style, and alignment.
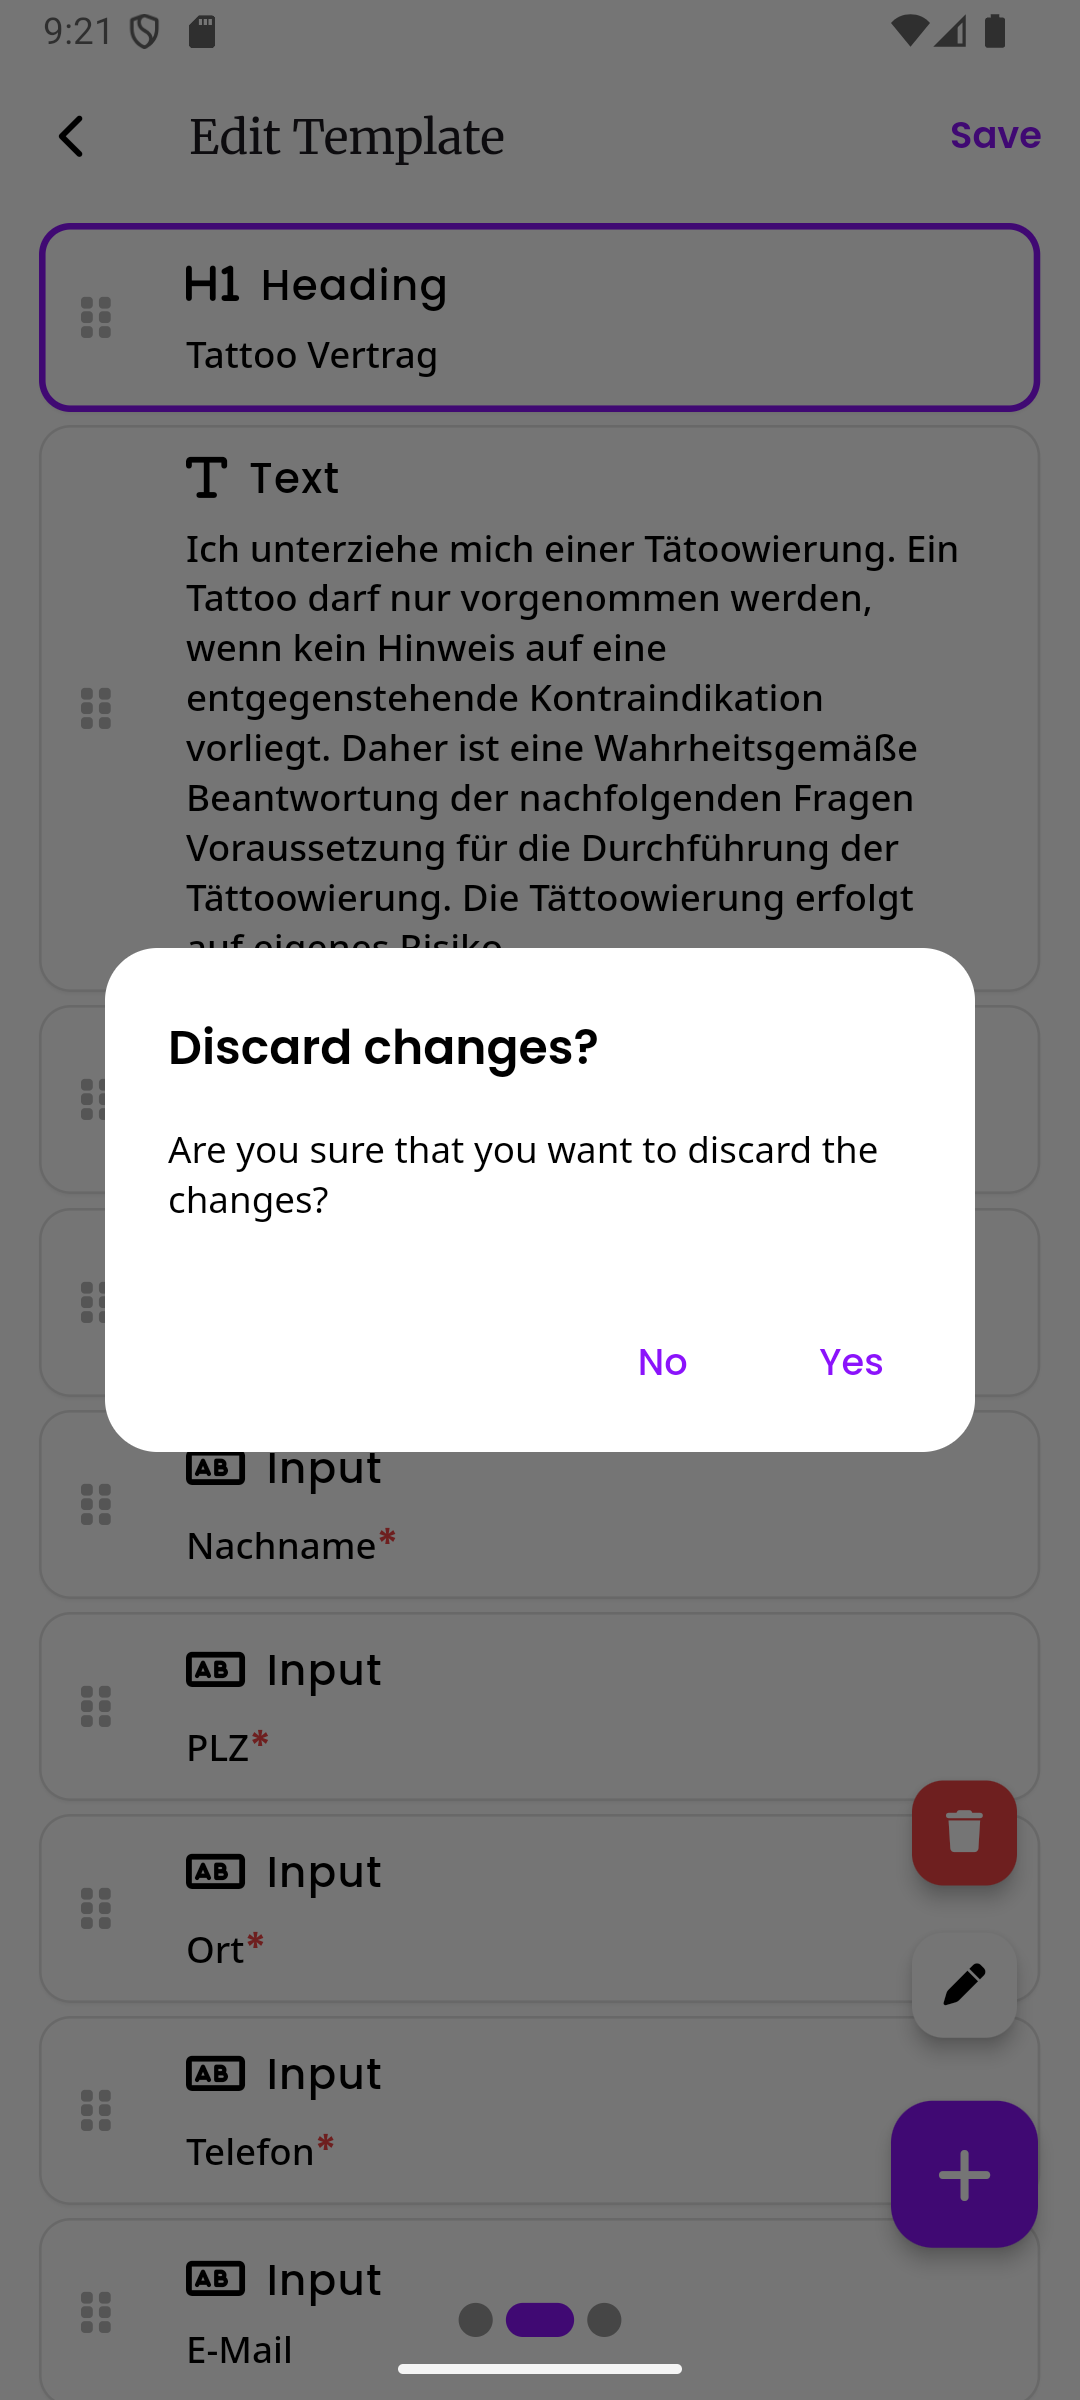
You must tap the Save button at the bottom of the property sheet to keep your changes. If you close the sheet without saving, your changes will be lost.
Reordering blocks
Section titled “Reordering blocks”To change the order of your blocks, long press (press and hold) on any block. After a moment, the block will lift up and you can drag it up or down to a new position. Release your finger to drop it in place.
Page 3: Preview
Section titled “Page 3: Preview”The third page shows a live preview of how the finished contract will look for your customer. Swipe right from the block editor to see it. This lets you check that everything looks good before saving.

Bank details on templates
Section titled “Bank details on templates”If your contracts need to show bank information (for example, so customers know where to send a down payment), you can configure which bank details to display. See Bank Details for the full guide. Here is a quick overview of the three options:
| Source | What happens |
|---|---|
| Assigned employee | The bank details of the employee assigned to the appointment are shown. If that employee has not set up their bank details, the company bank details are used instead |
| Company | The bank details from your company profile are always used, no matter which employee is assigned |
| Contract template | Bank details that you enter directly on the template are used |
You can also turn off bank details entirely if your contracts don’t need them.
Attachments
Section titled “Attachments”You can upload file attachments to your template. These files are shared with the customer when they open the contract. Common examples include aftercare instructions, studio policies, or photo release forms.
You can mark an attachment as must download. This means the customer has to download the file before they can submit the contract. This is a good way to make sure customers actually receive important documents.
See Template Attachments for more details.
Template options
Section titled “Template options”From the template detail view, you can access additional options through the menu (the three dots at the top right):
- Clone - Creates a copy of the template, which is useful when you want to make a similar template without starting from scratch
- Delete - Removes the template (soft-delete, meaning it can be restored later)
- Restore - Brings back a previously deleted template
Permissions
Section titled “Permissions”| Action | Required permission |
|---|---|
| View and browse contract templates | Contracts: Read |
| Create, edit, delete, or restore contract templates | Contracts: Manage |